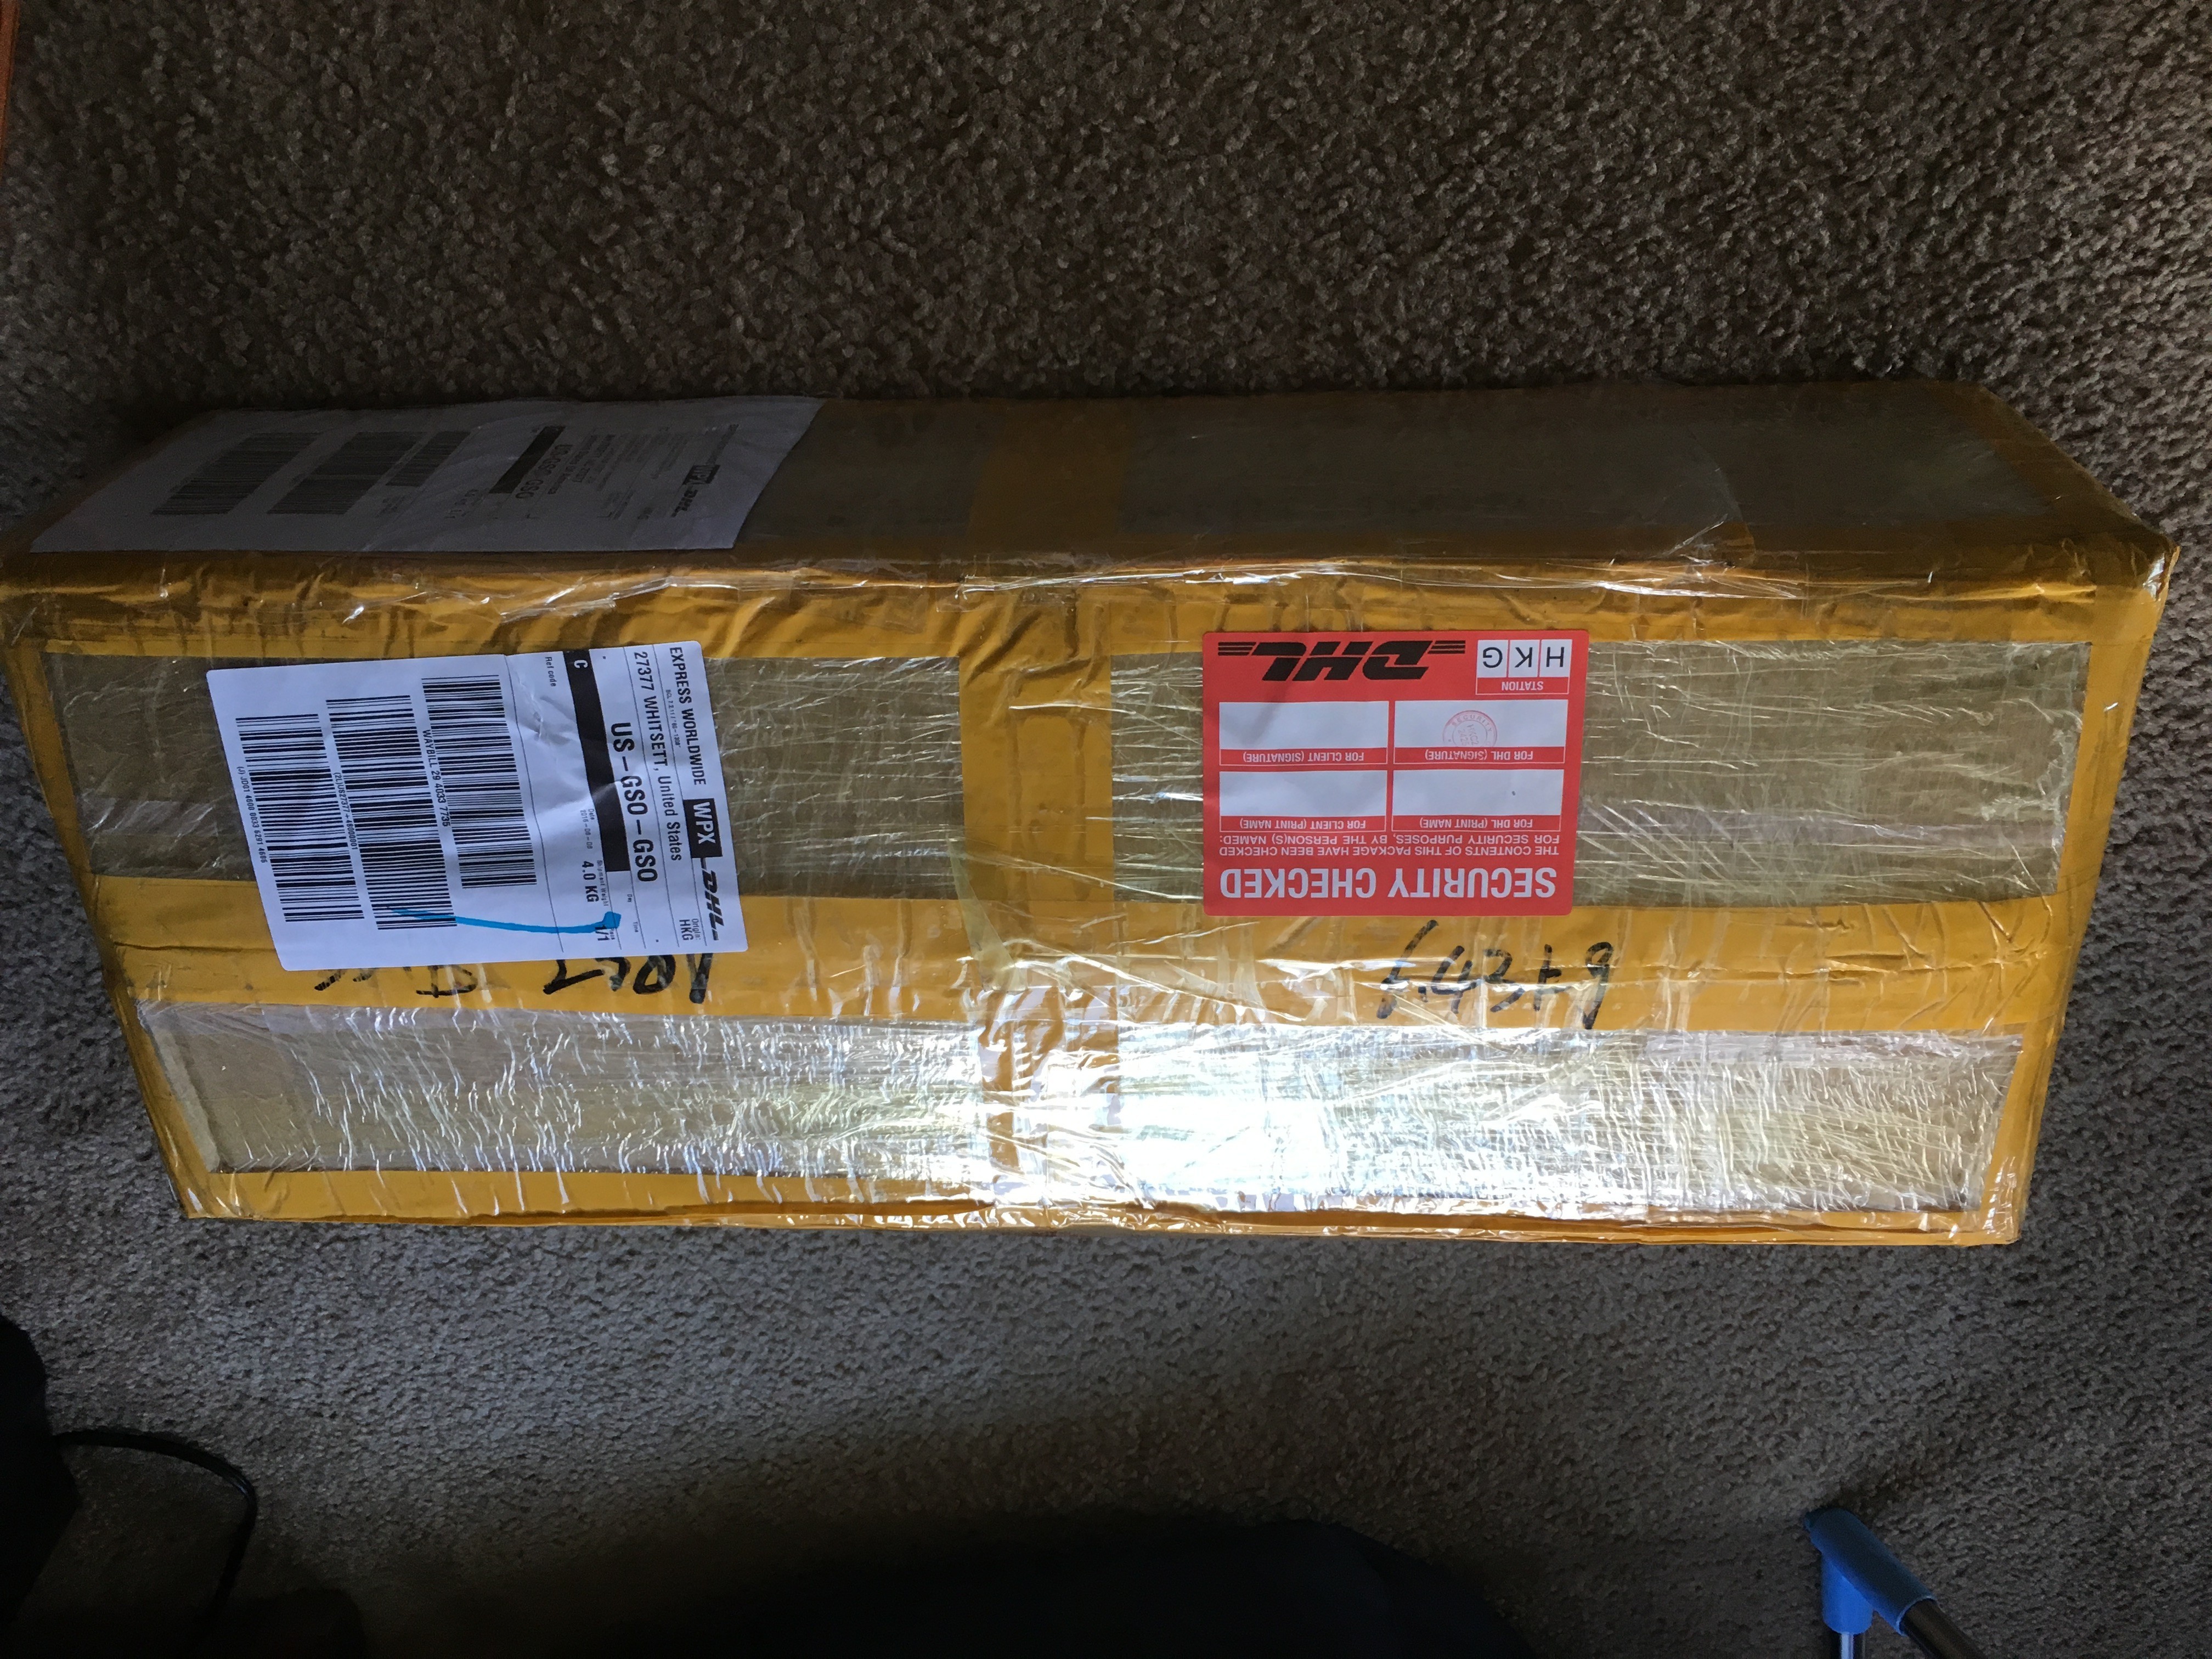
For a while, I had been wanting to take on a project but I couldn’t decide what I wanted to do. One thing lead to another and I settled on the idea of building a 3D printer. I shopped around online for a kit and found this one. Three days after (including going through customs) what seemed to be a very shady online purchase, this box arrived at my door.
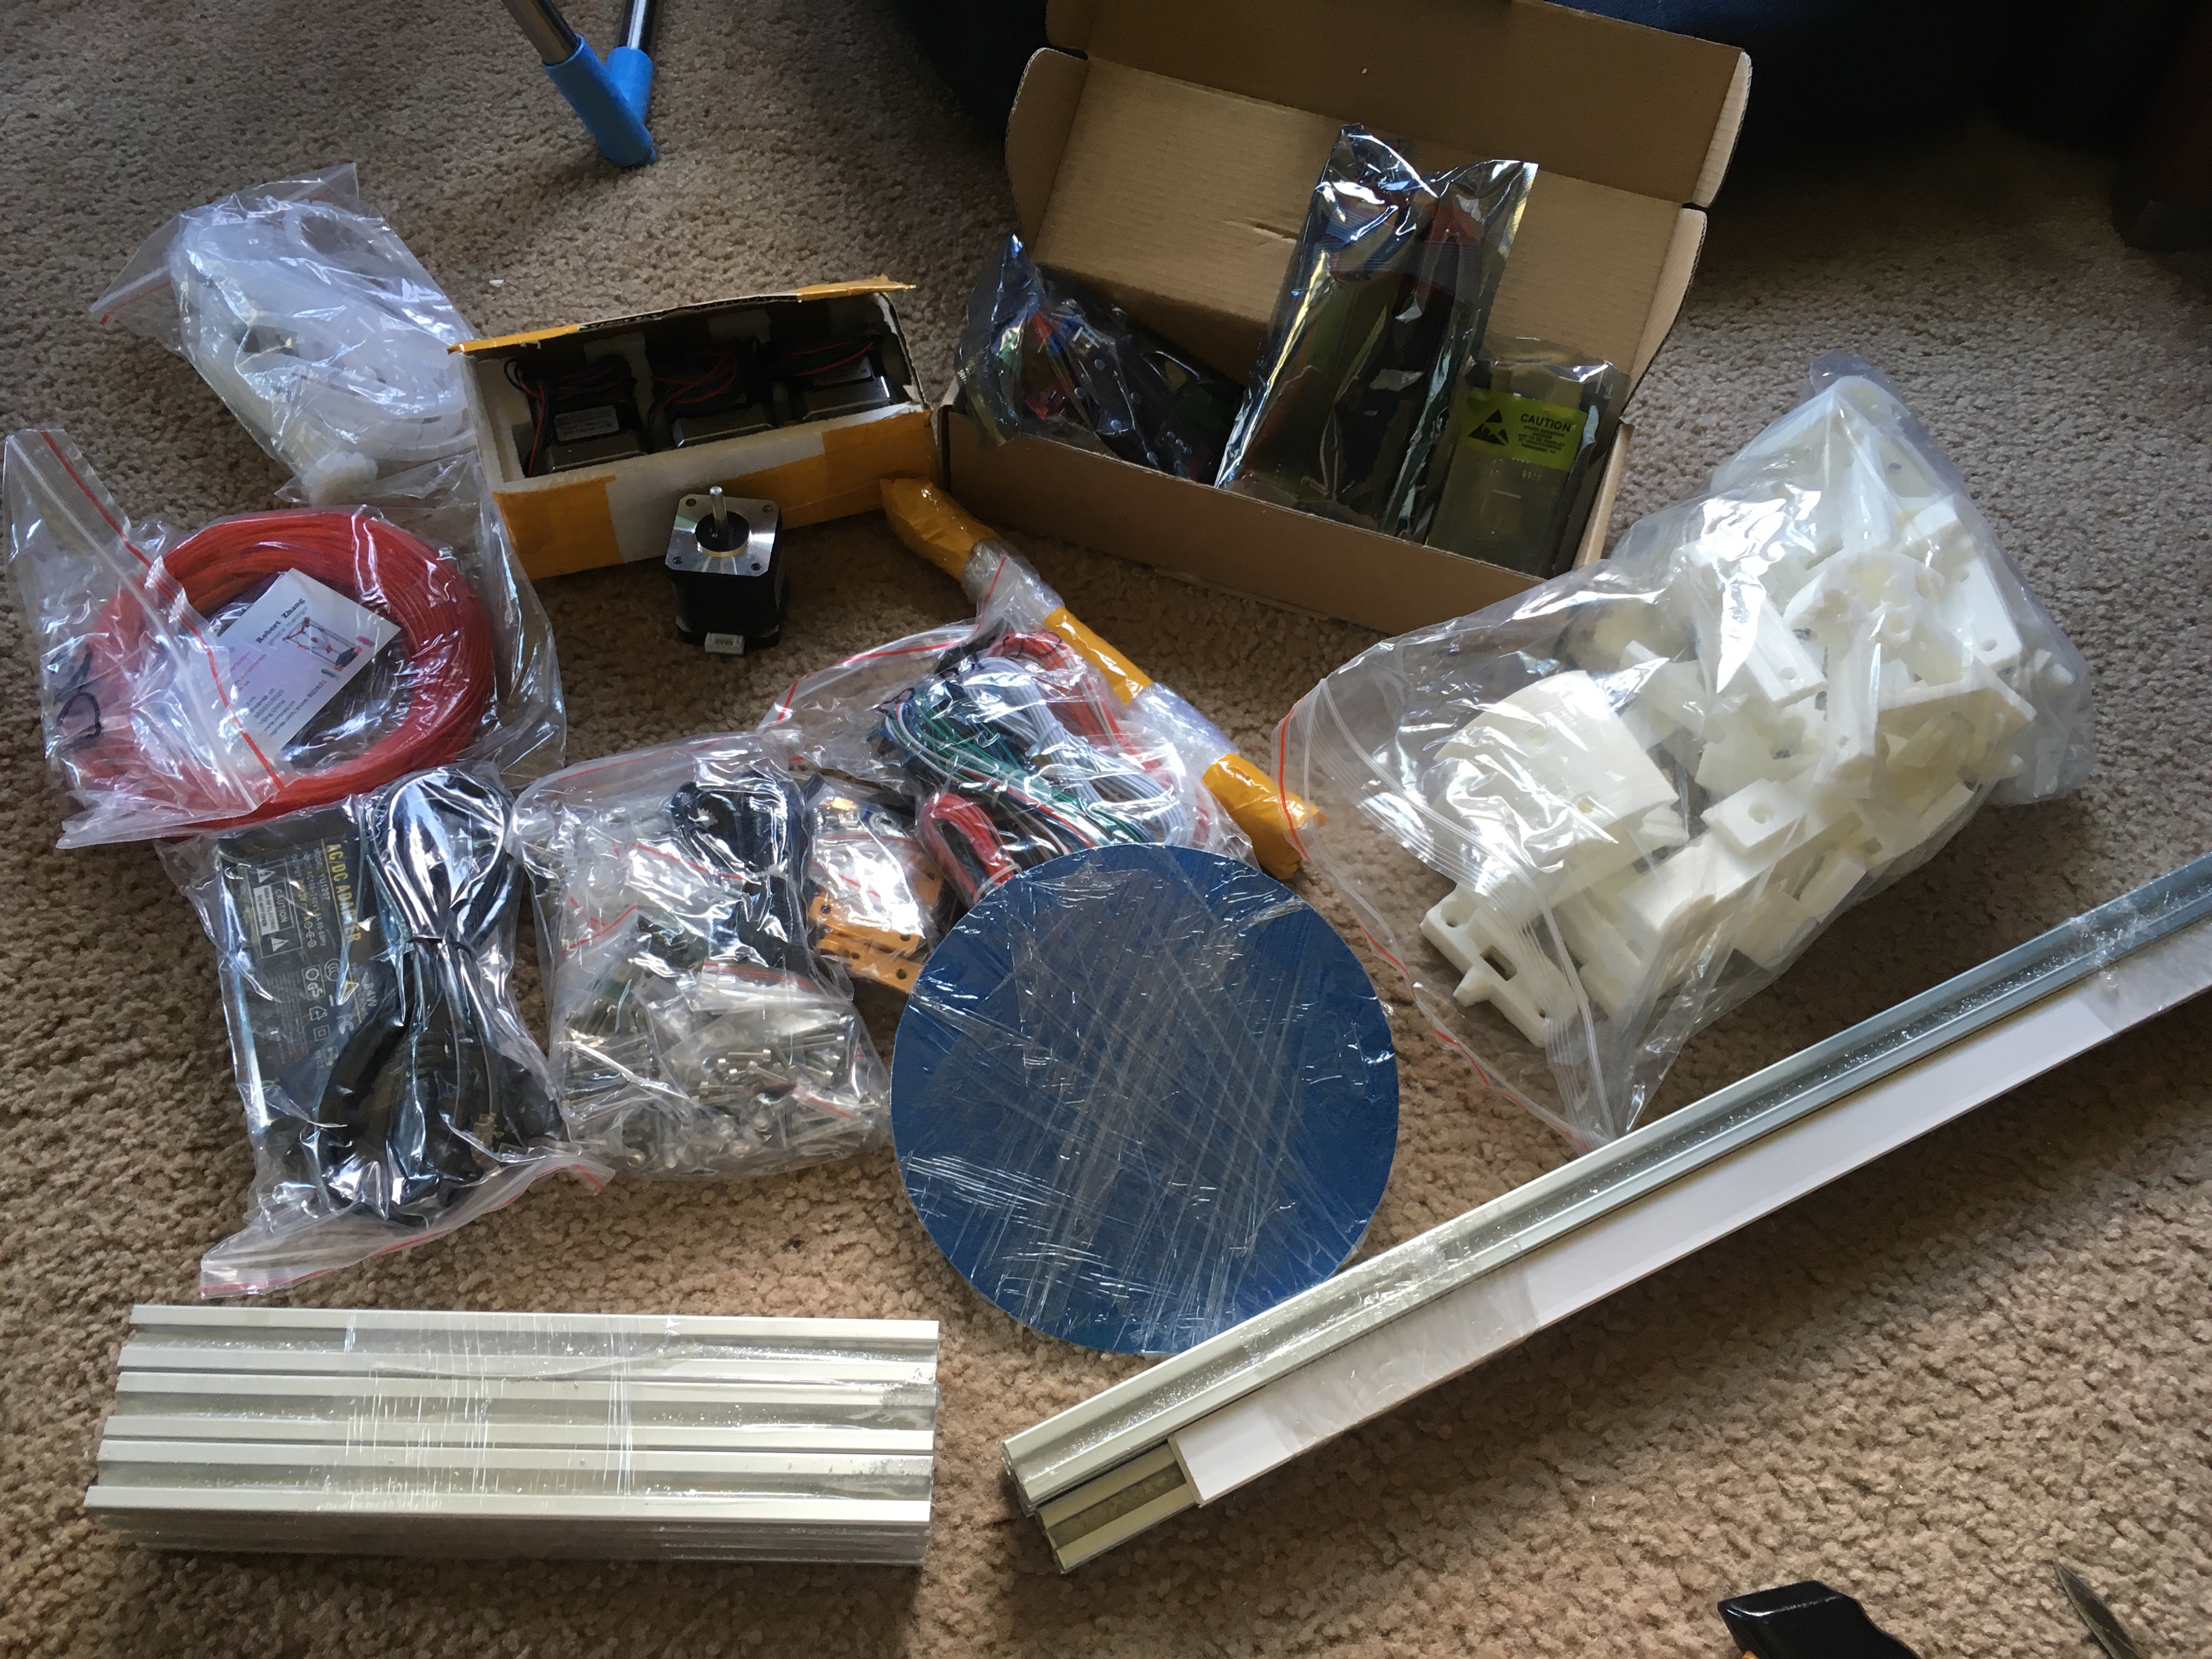
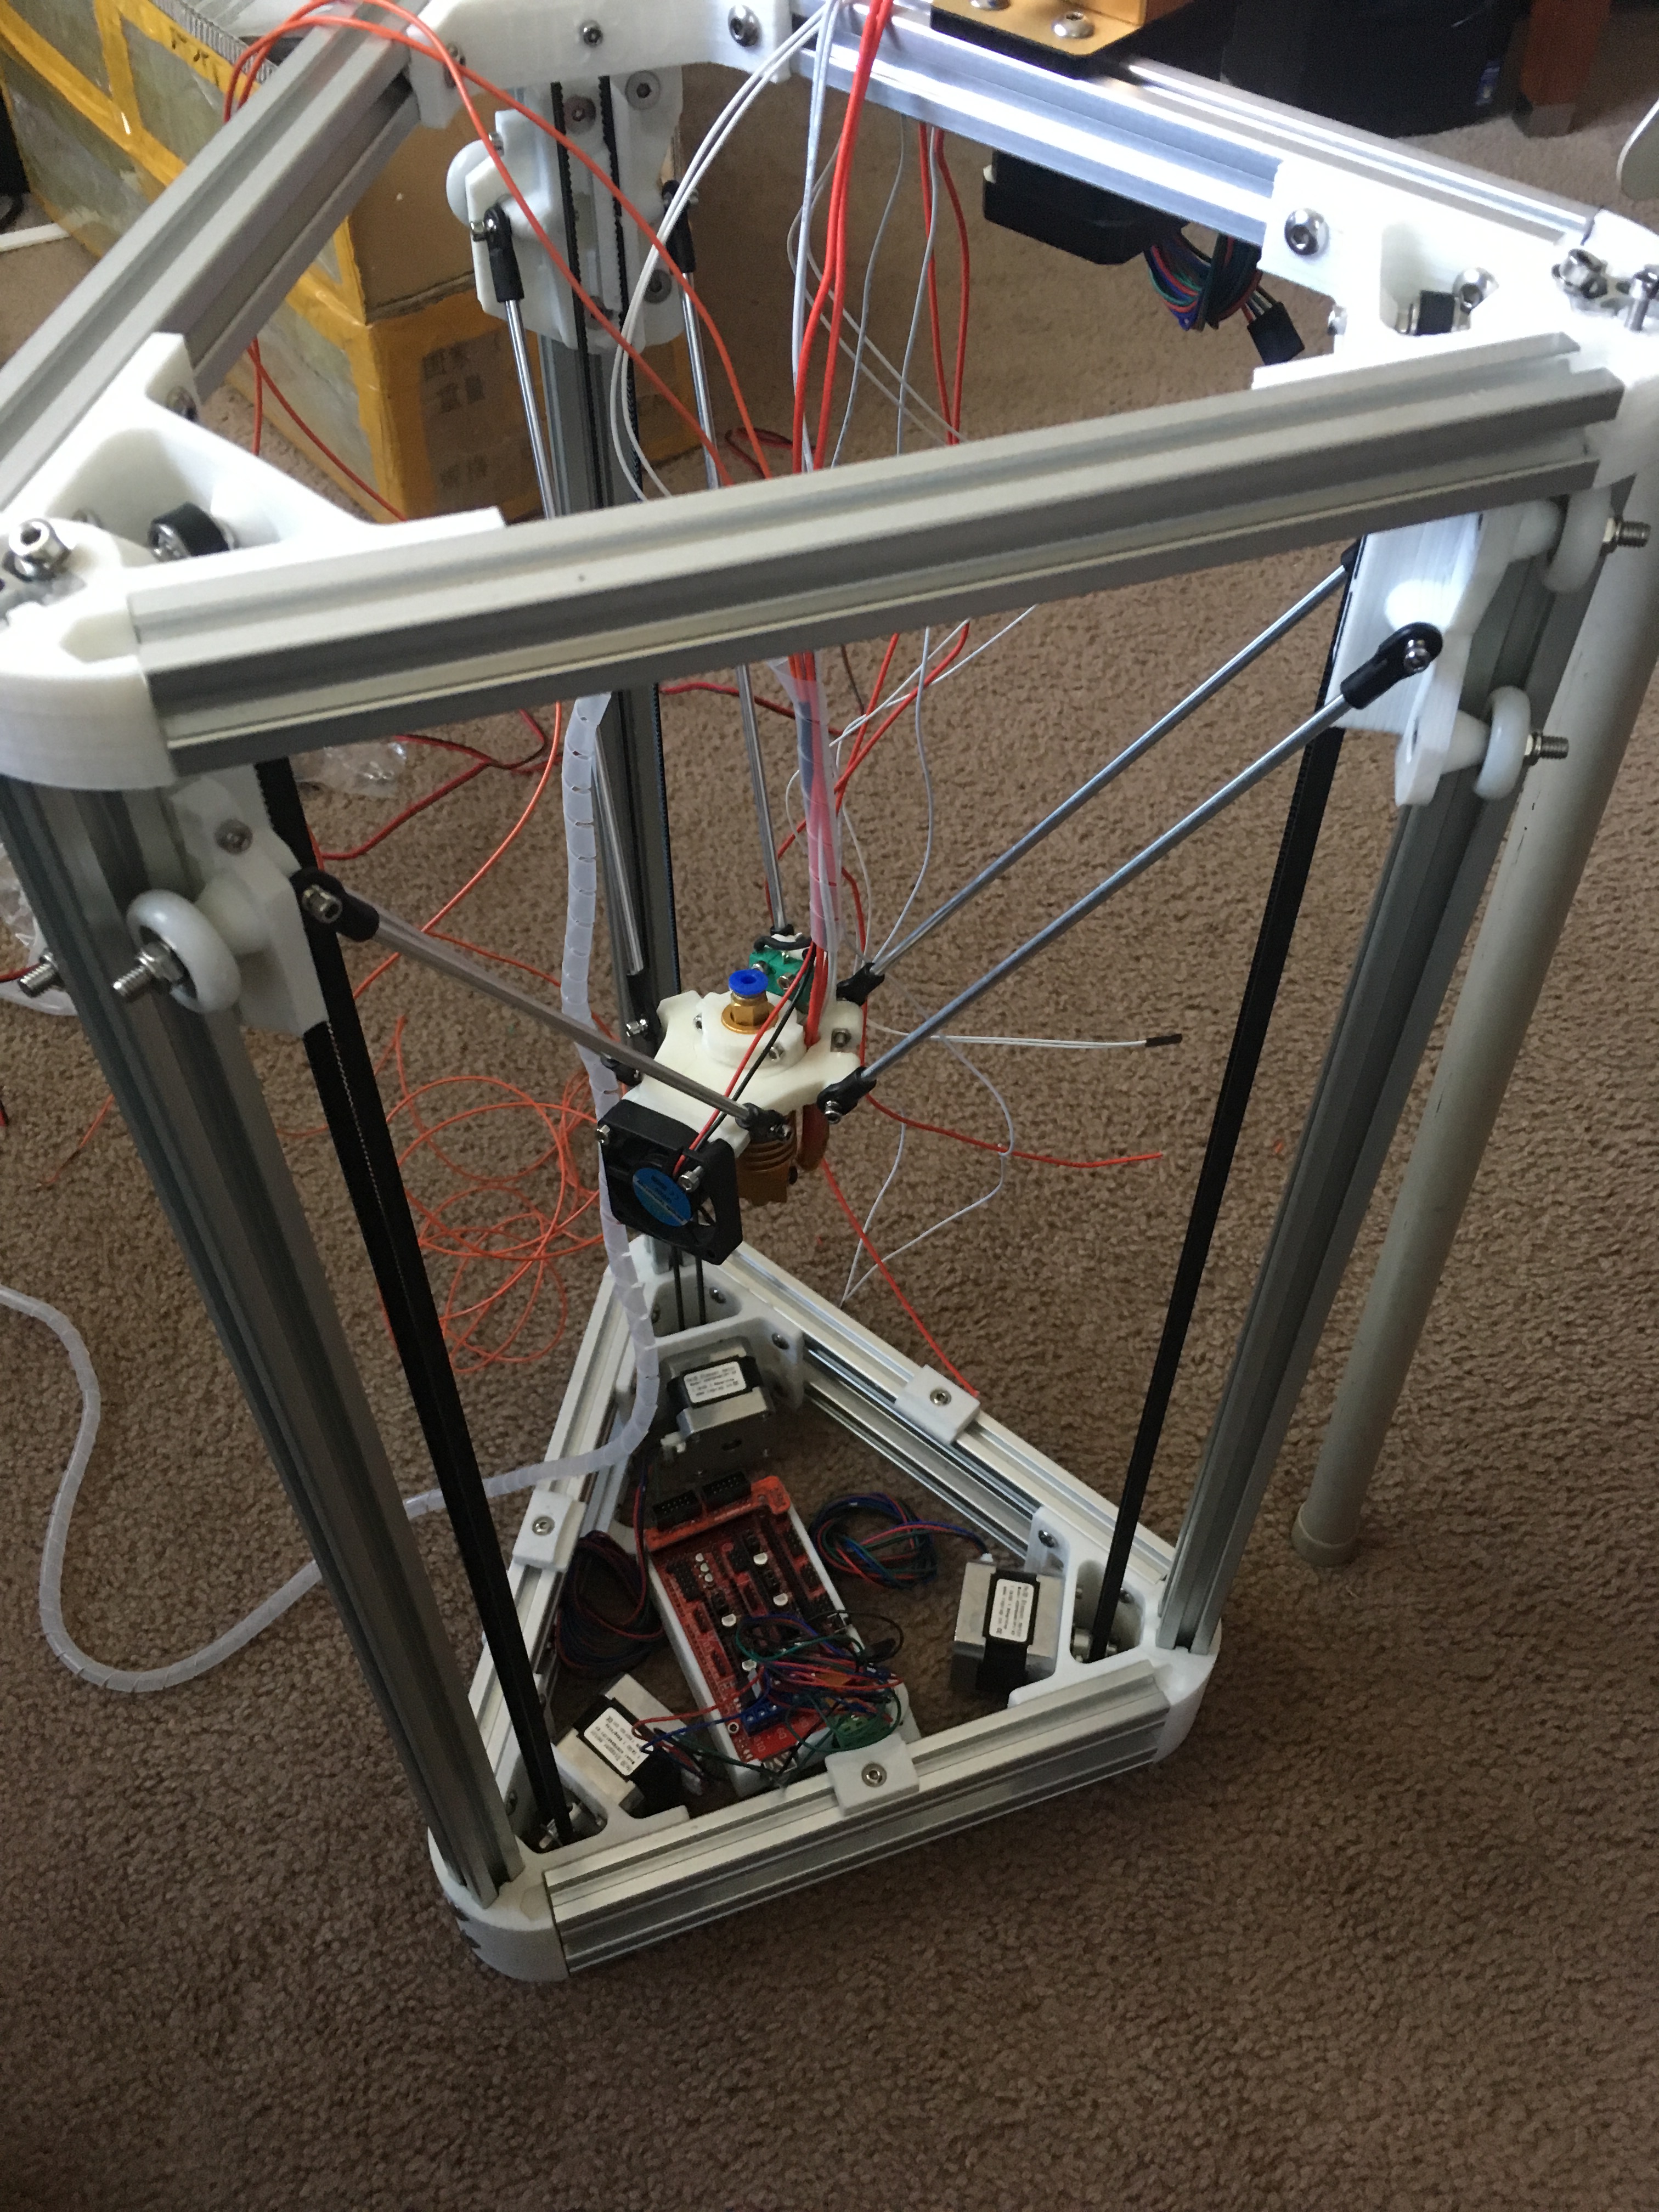
I opened it with anticipation, but I was honestly a bit overwhelmed by all of pieces that greeted me.
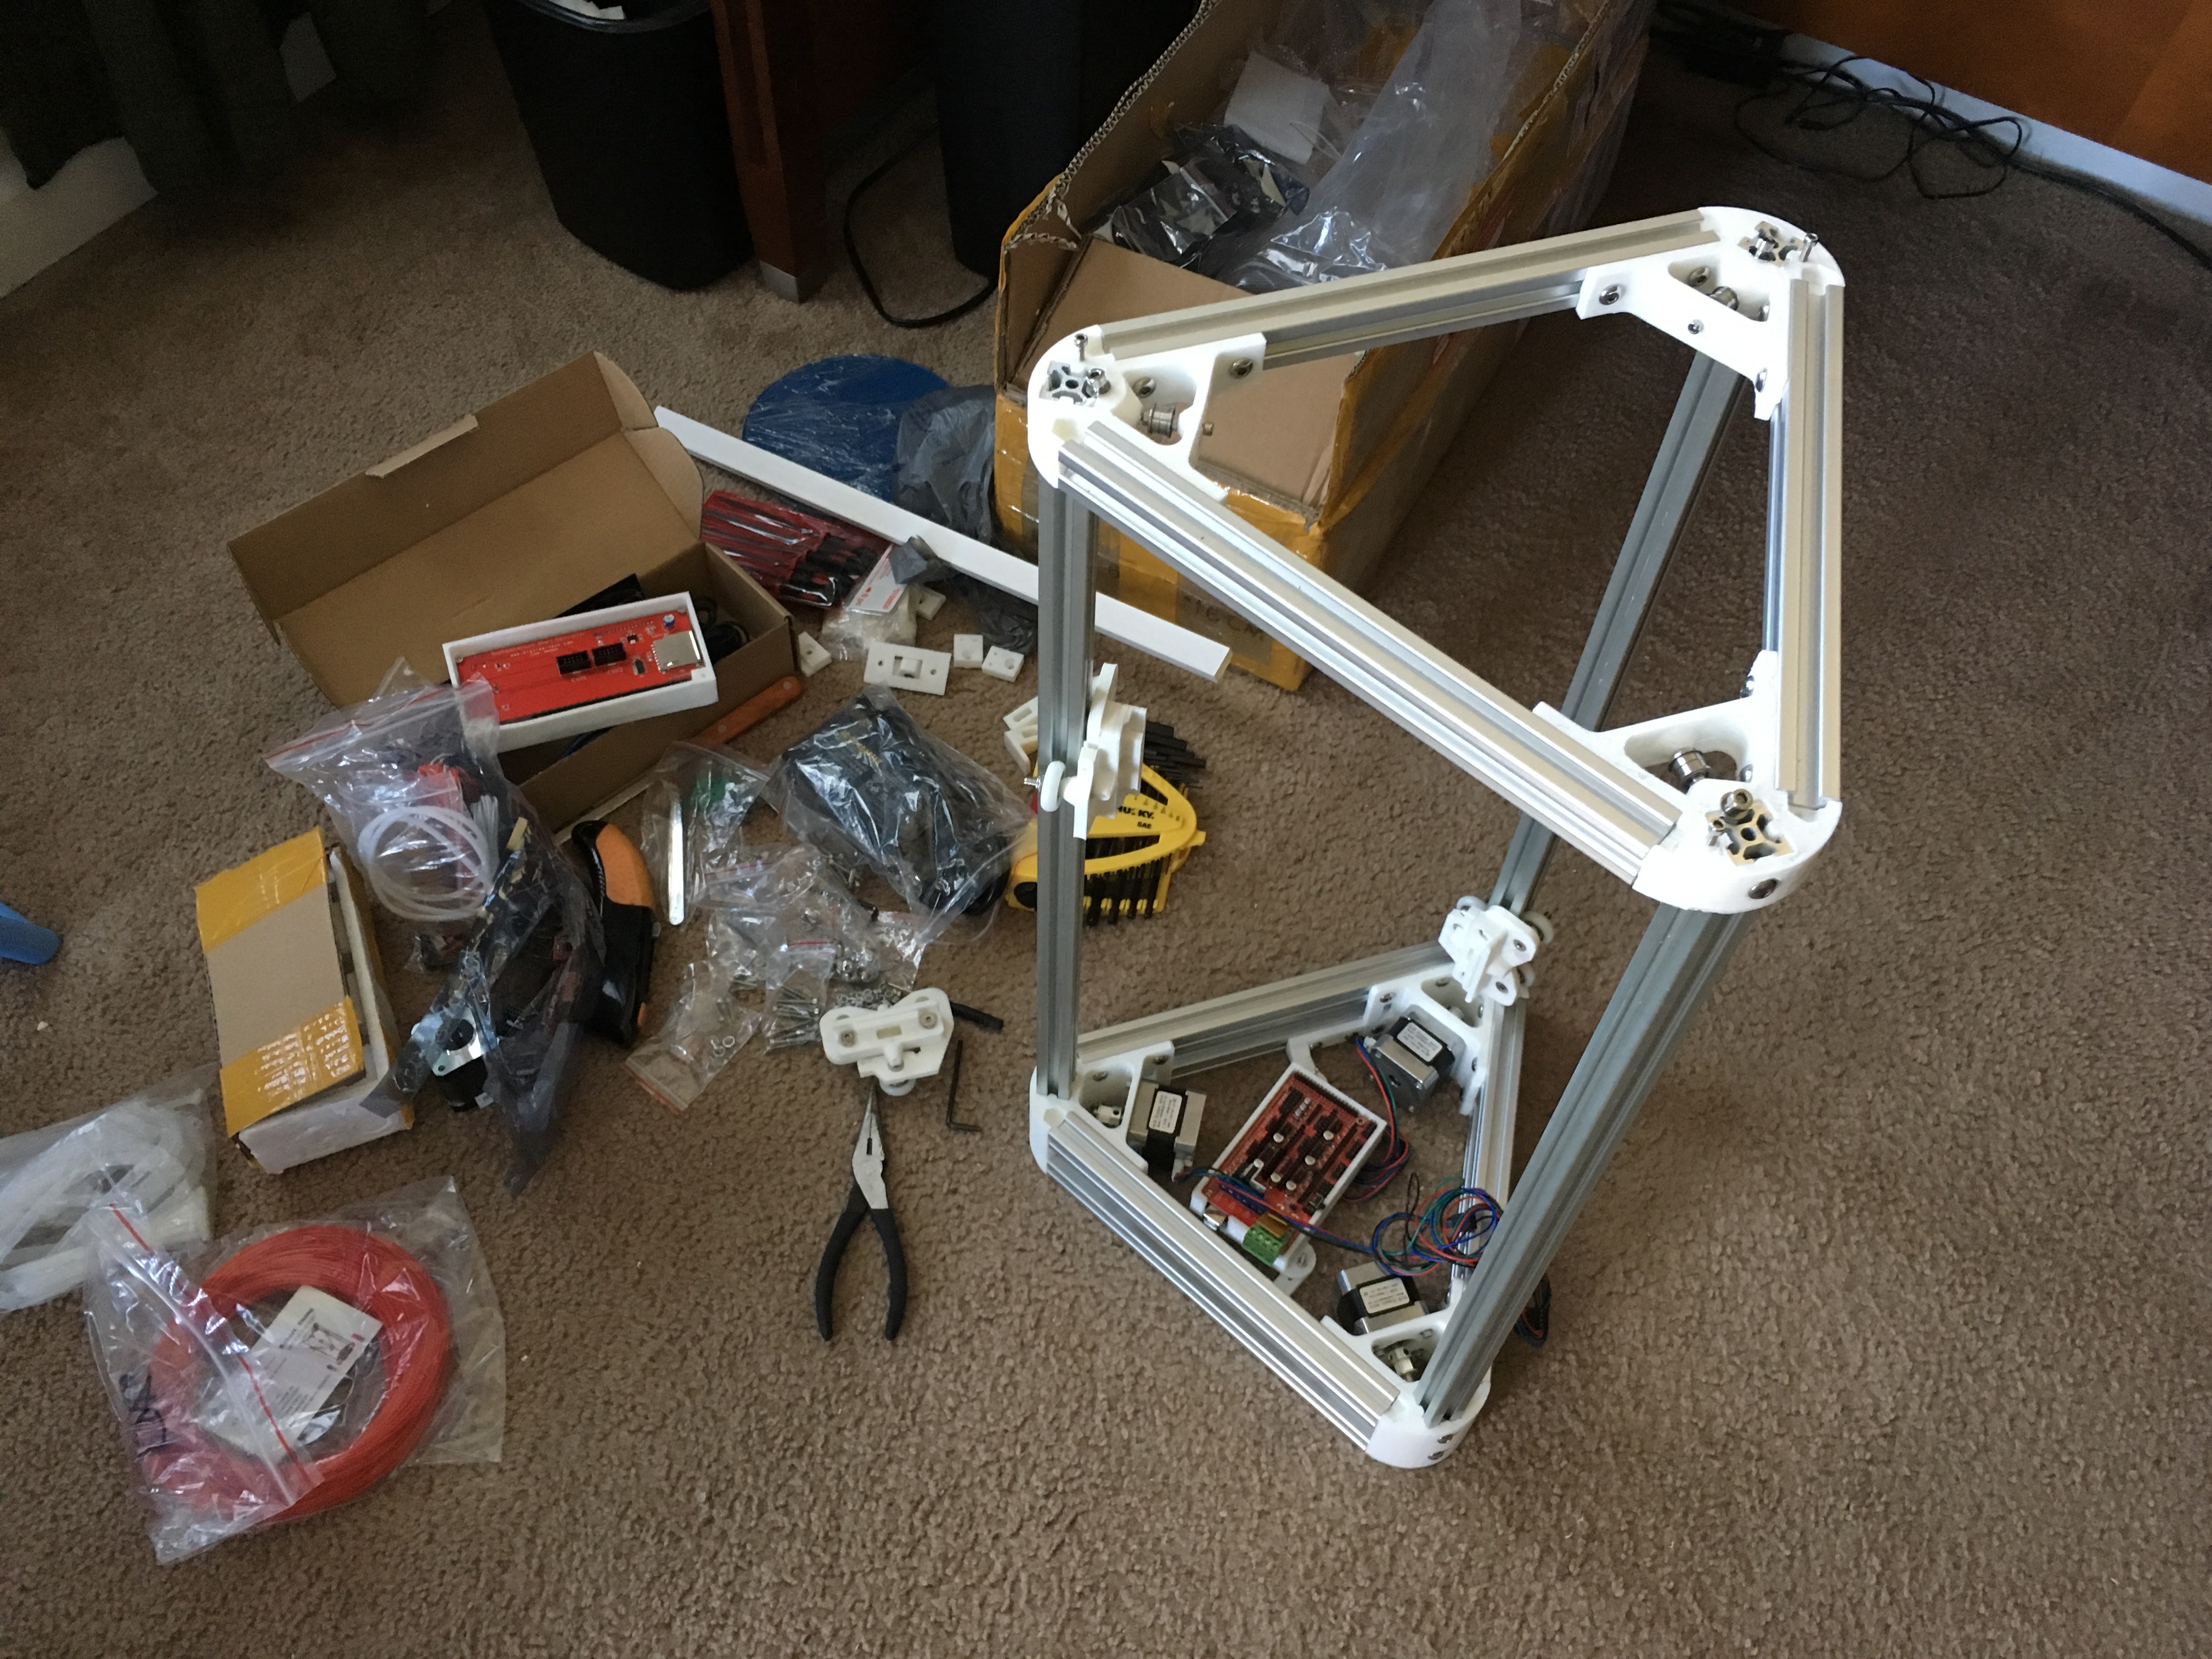
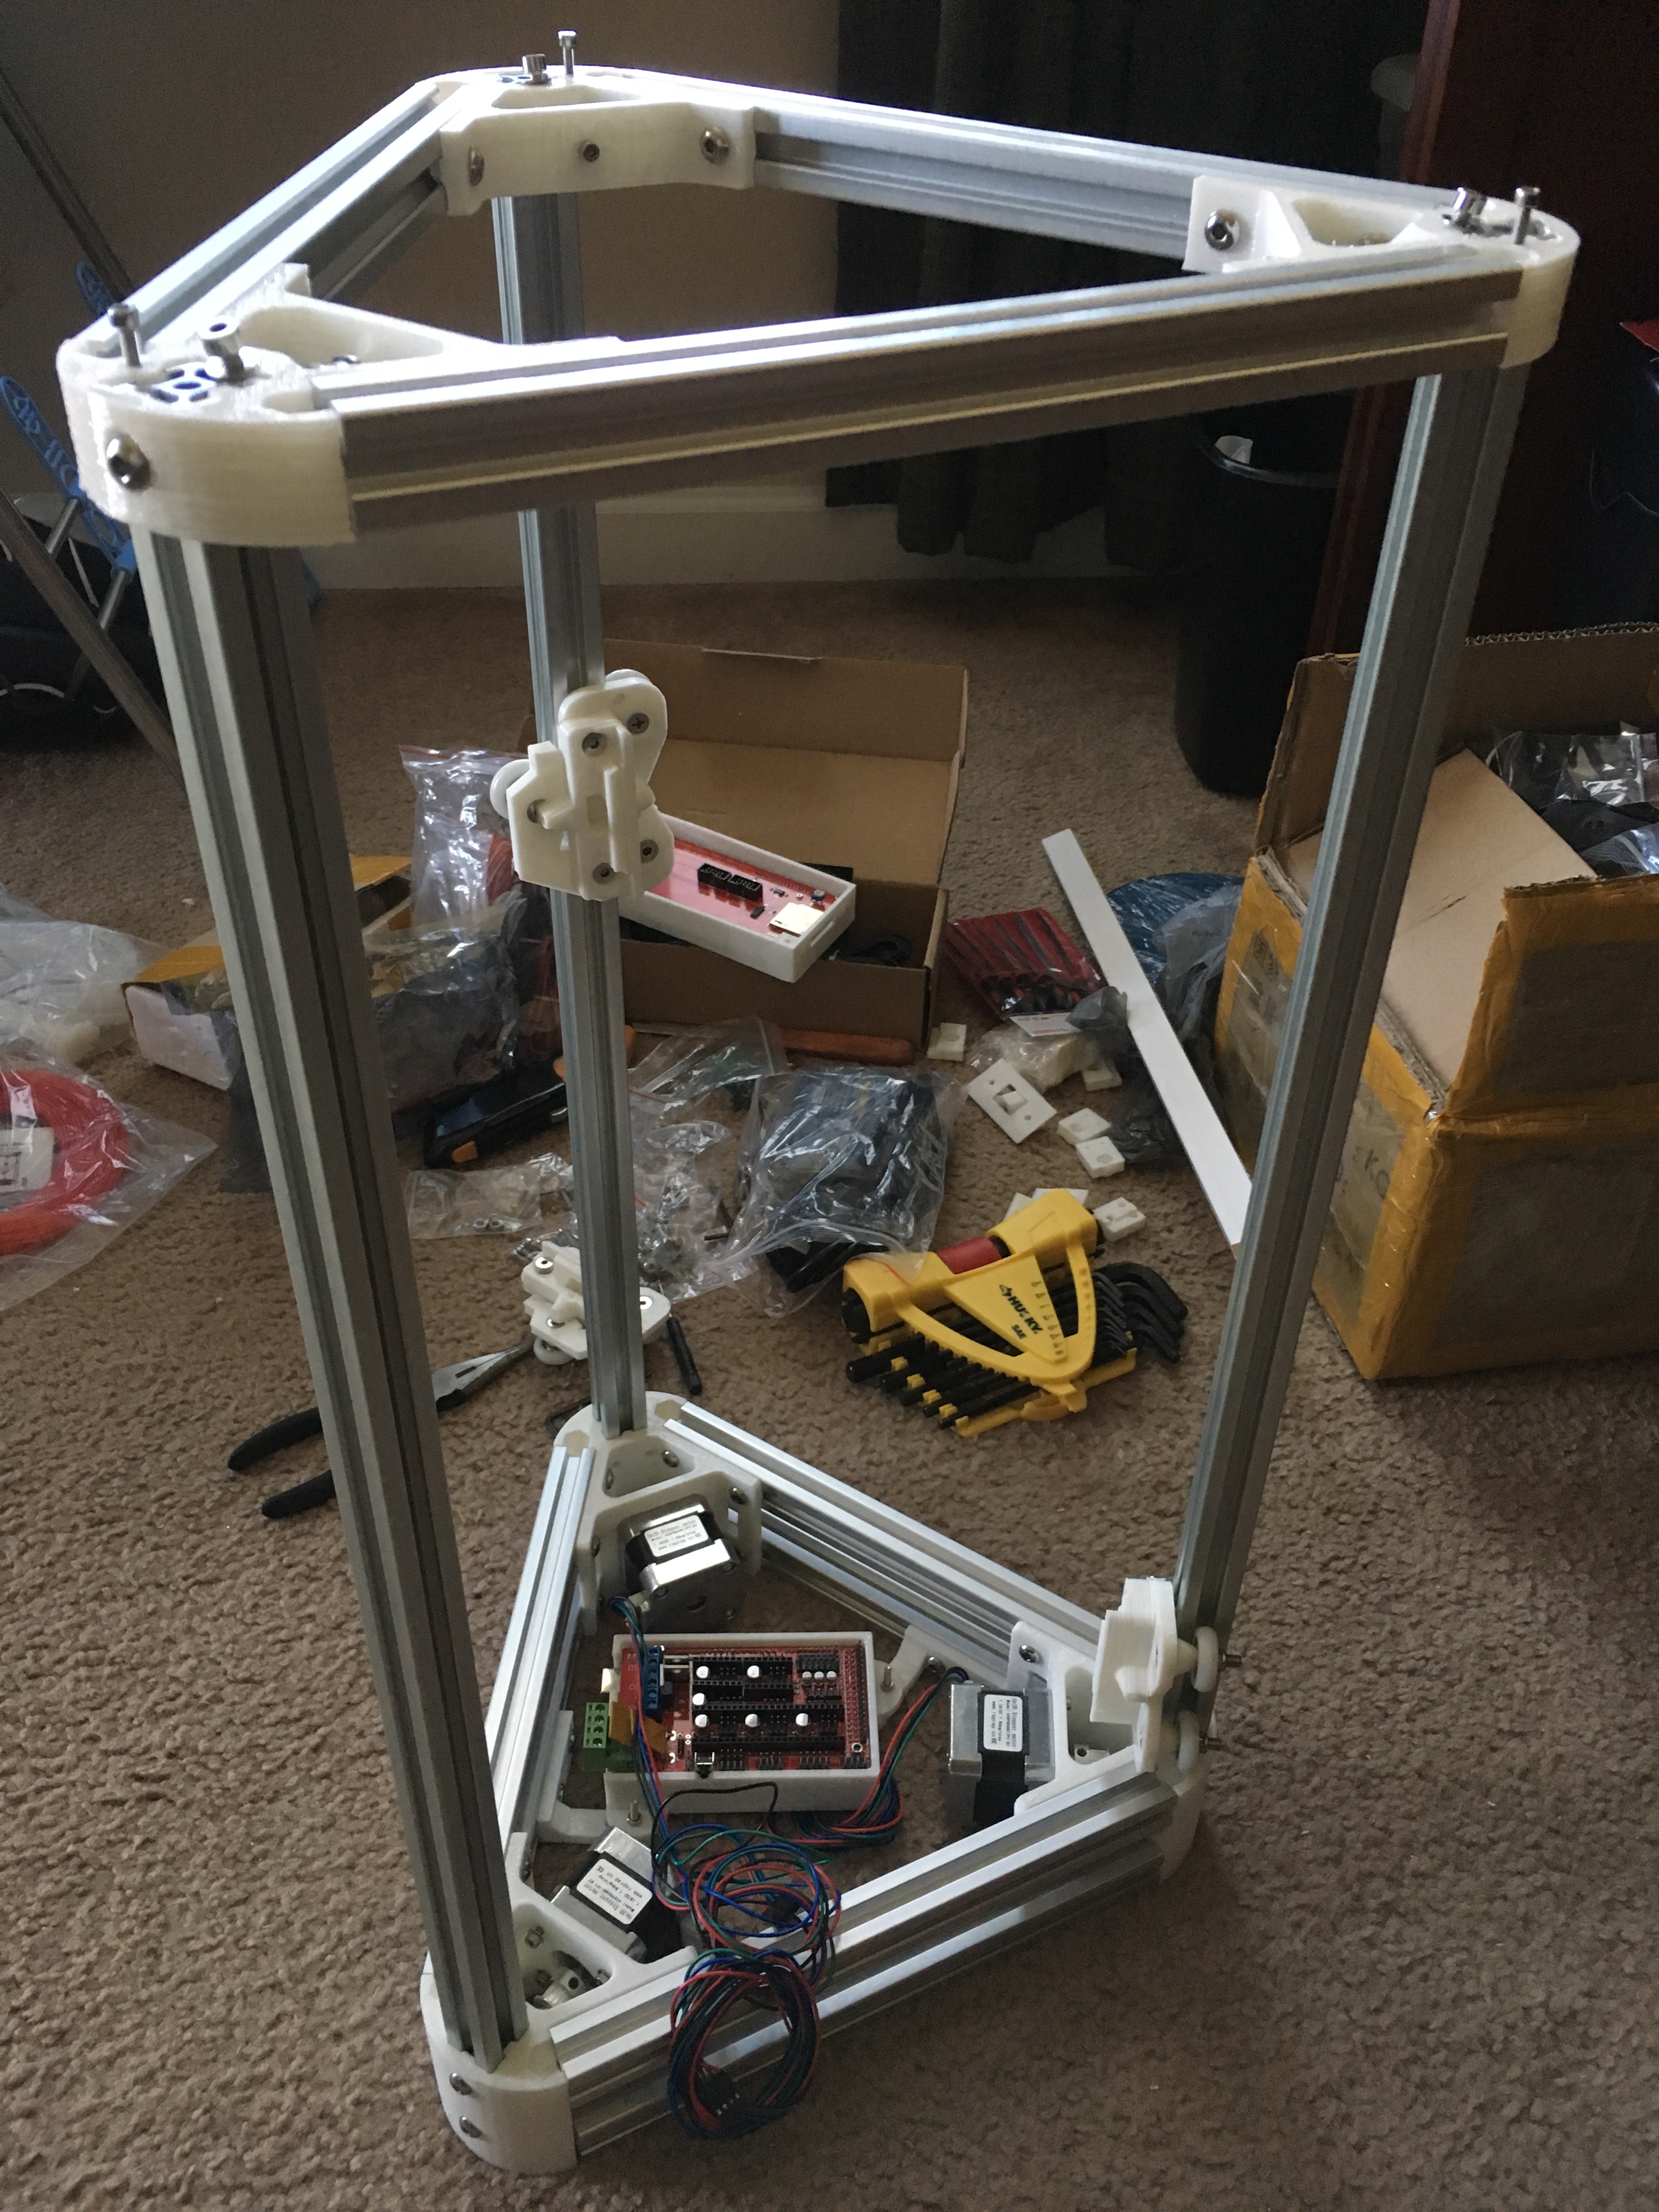
After gleaming what I could from a manual of nothing put pictures of various sections of the completed printer and a video of a man putting it together at 10x speed from 5 feet away, I was able to put the beast together. I also got a good amount of help from a set of very useful videos posted by iceman198.
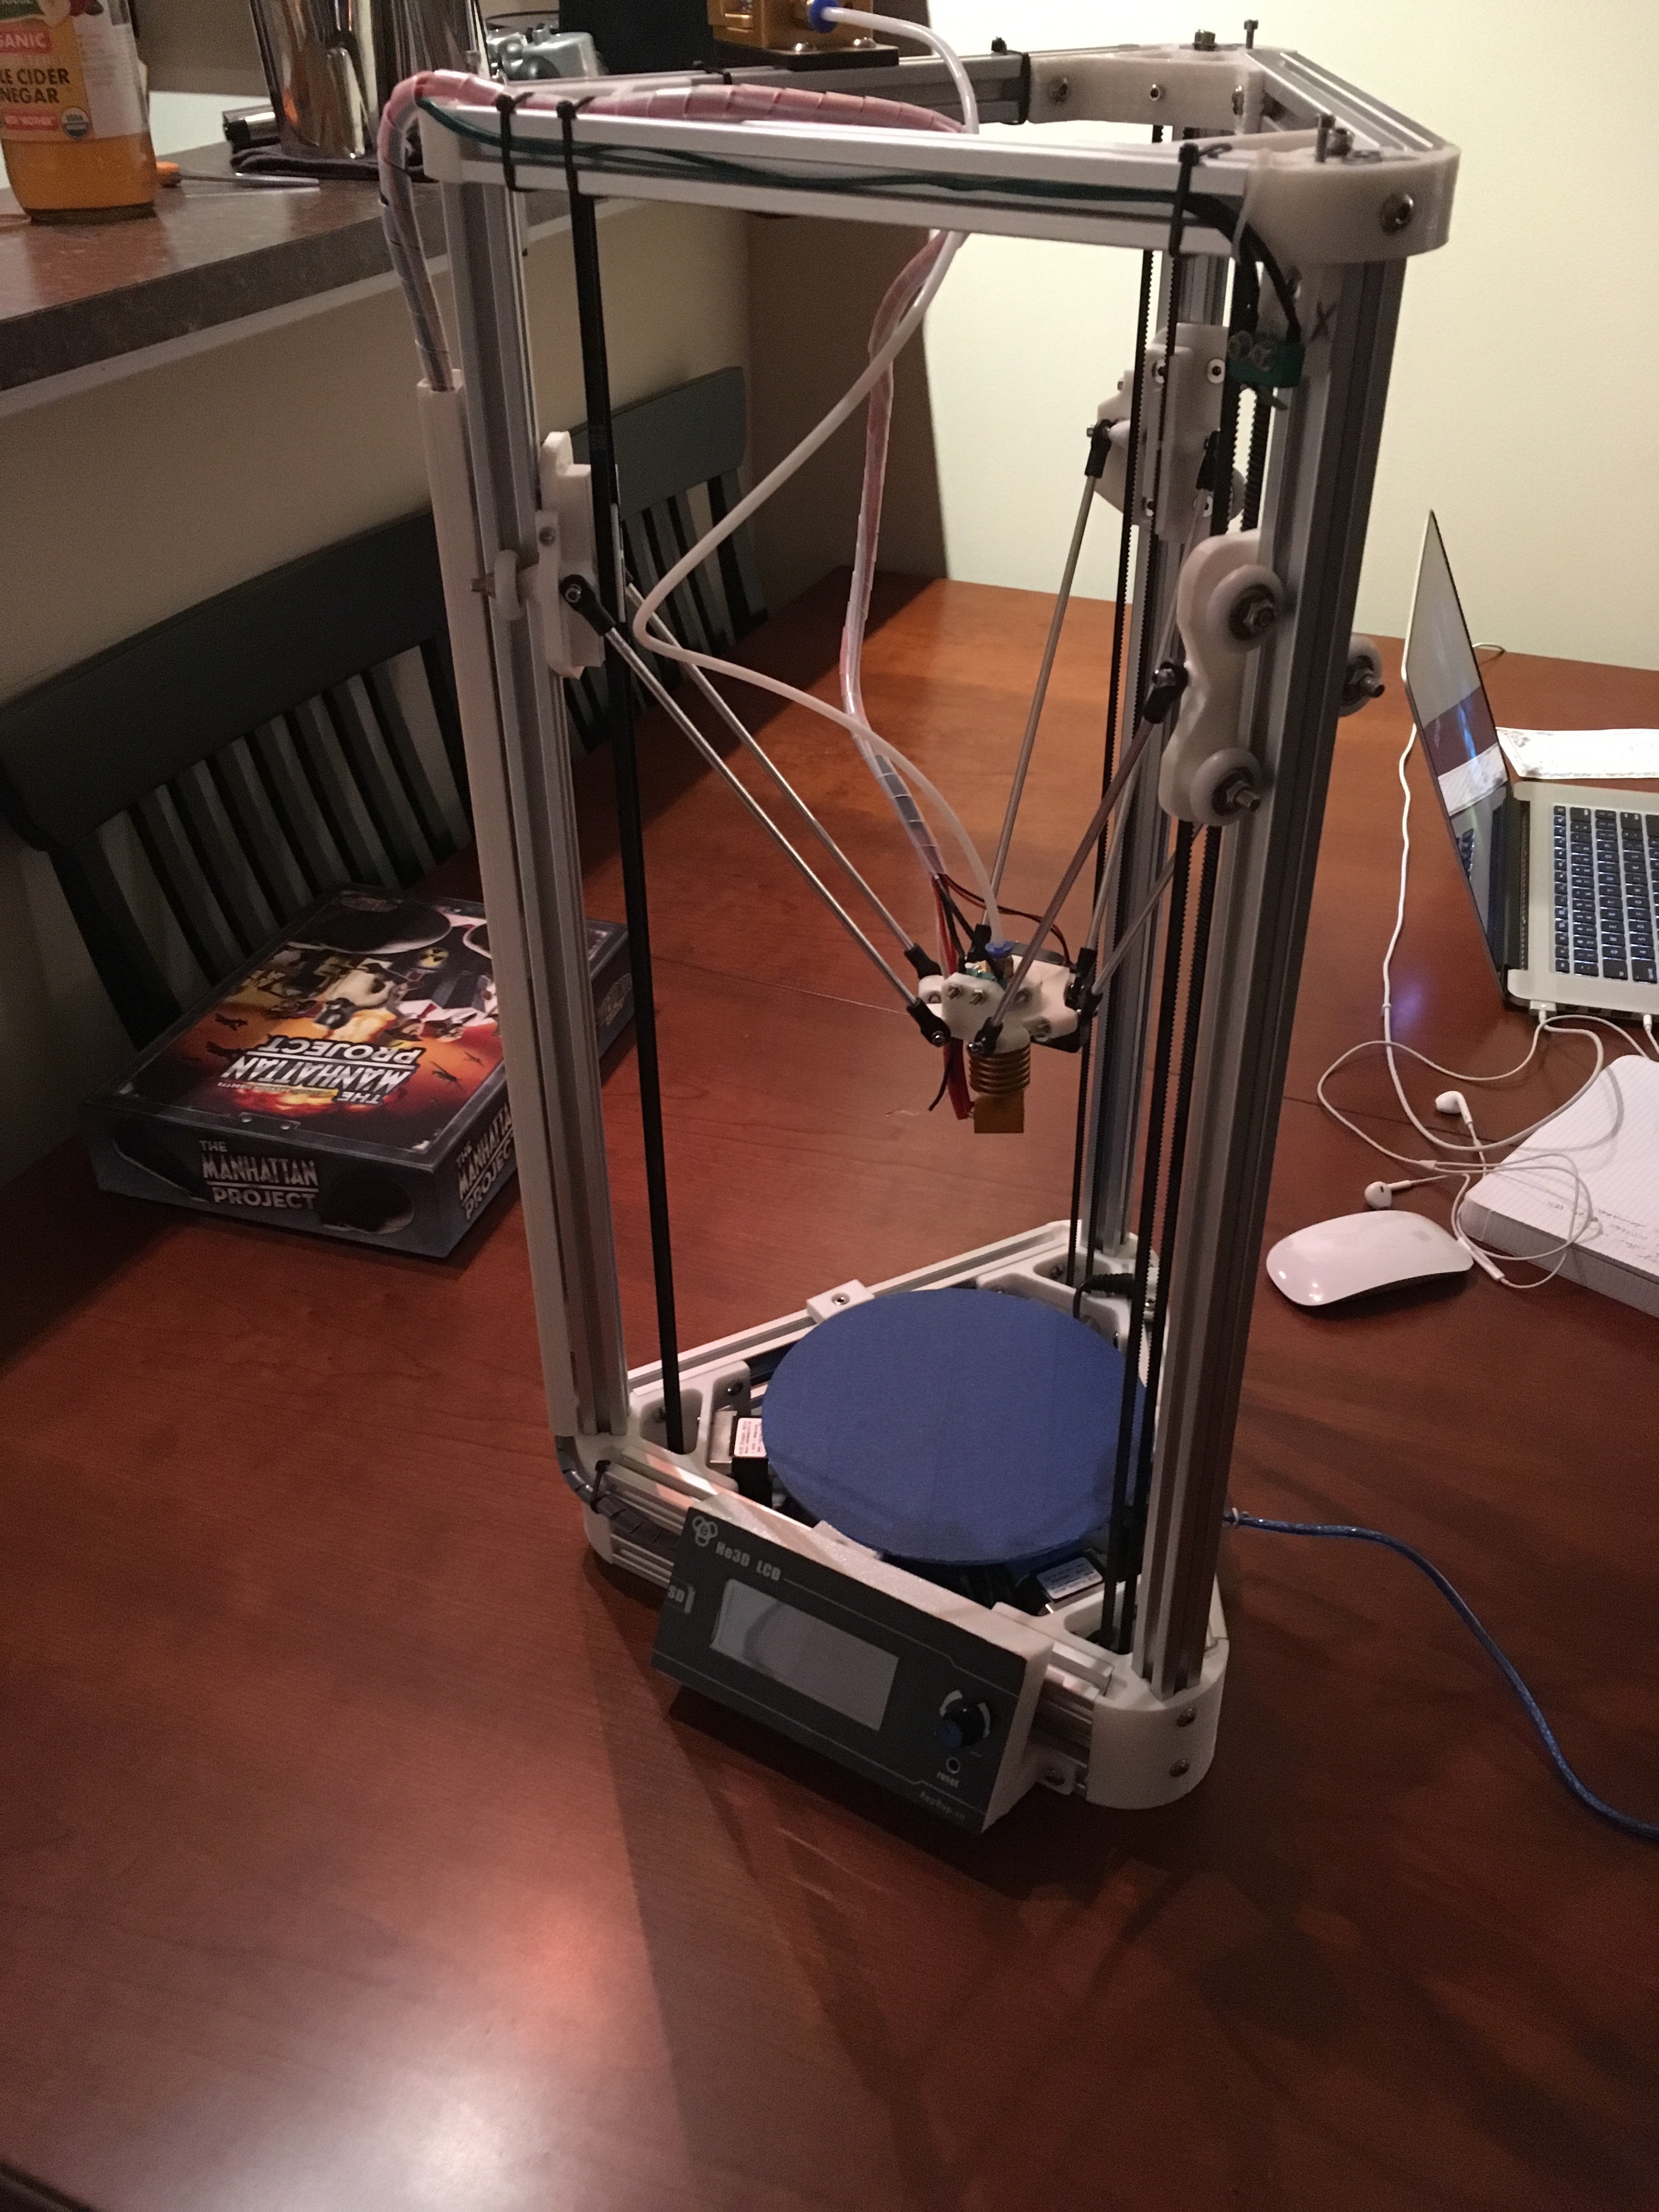
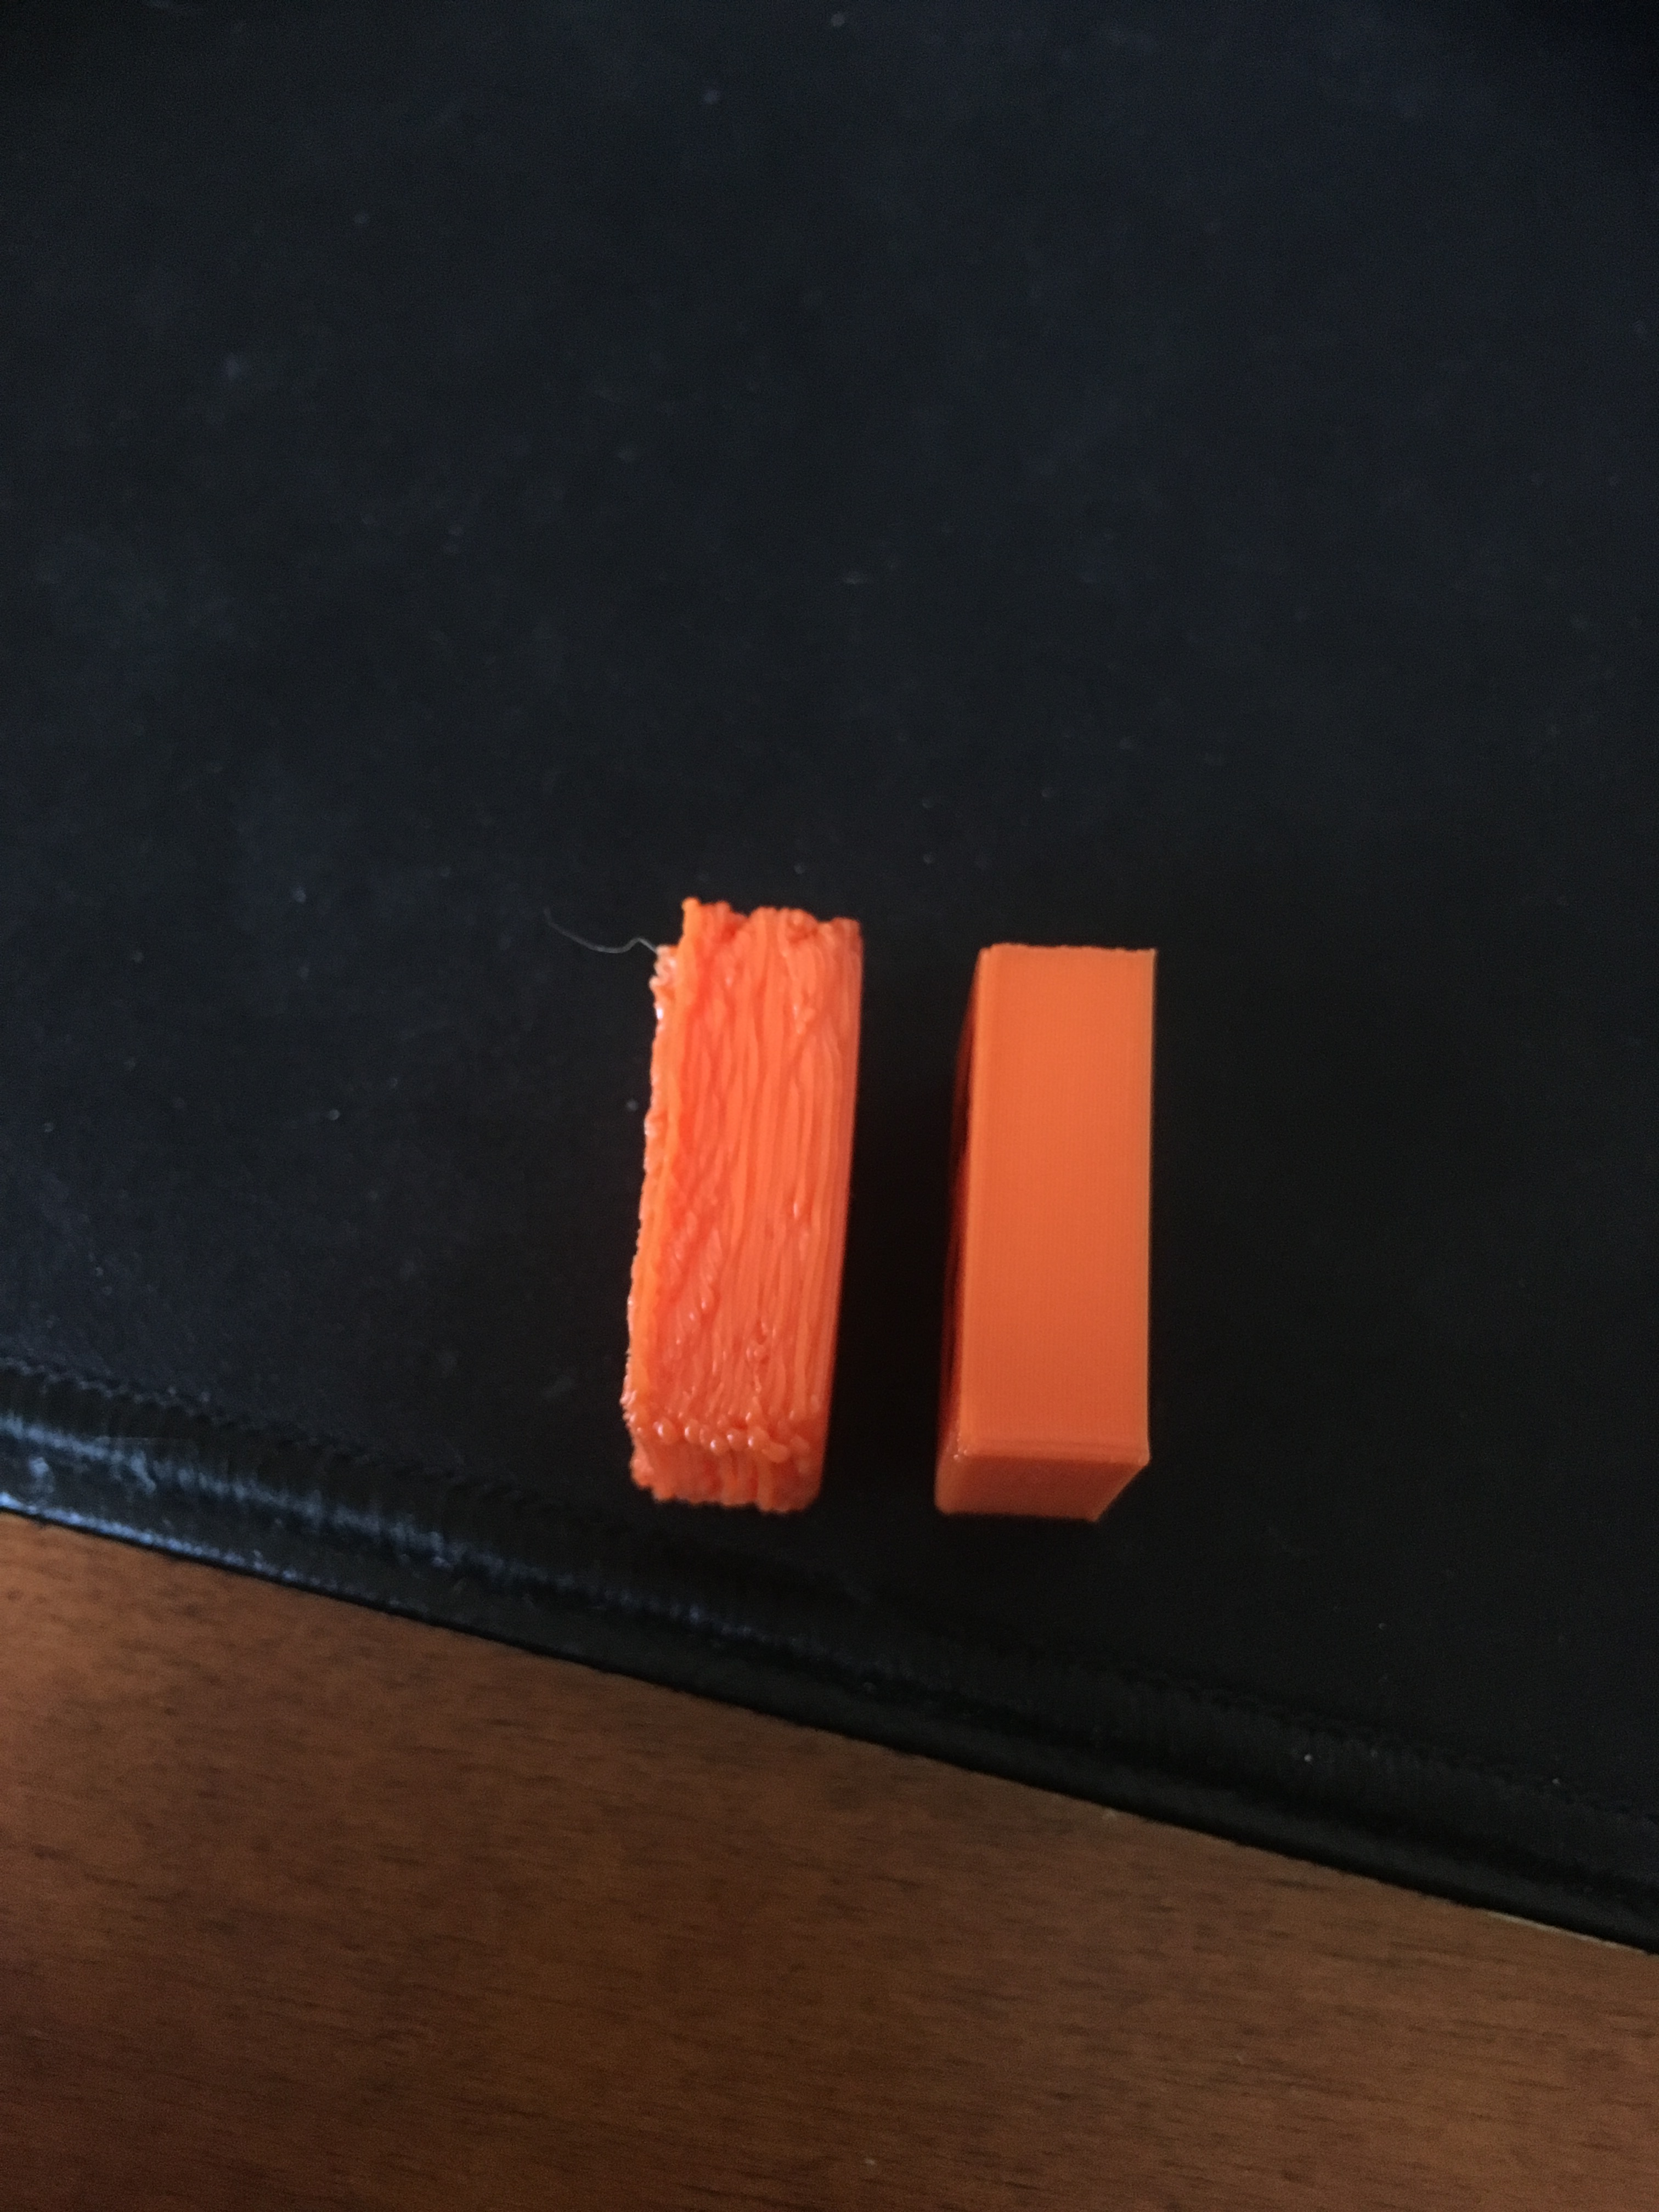
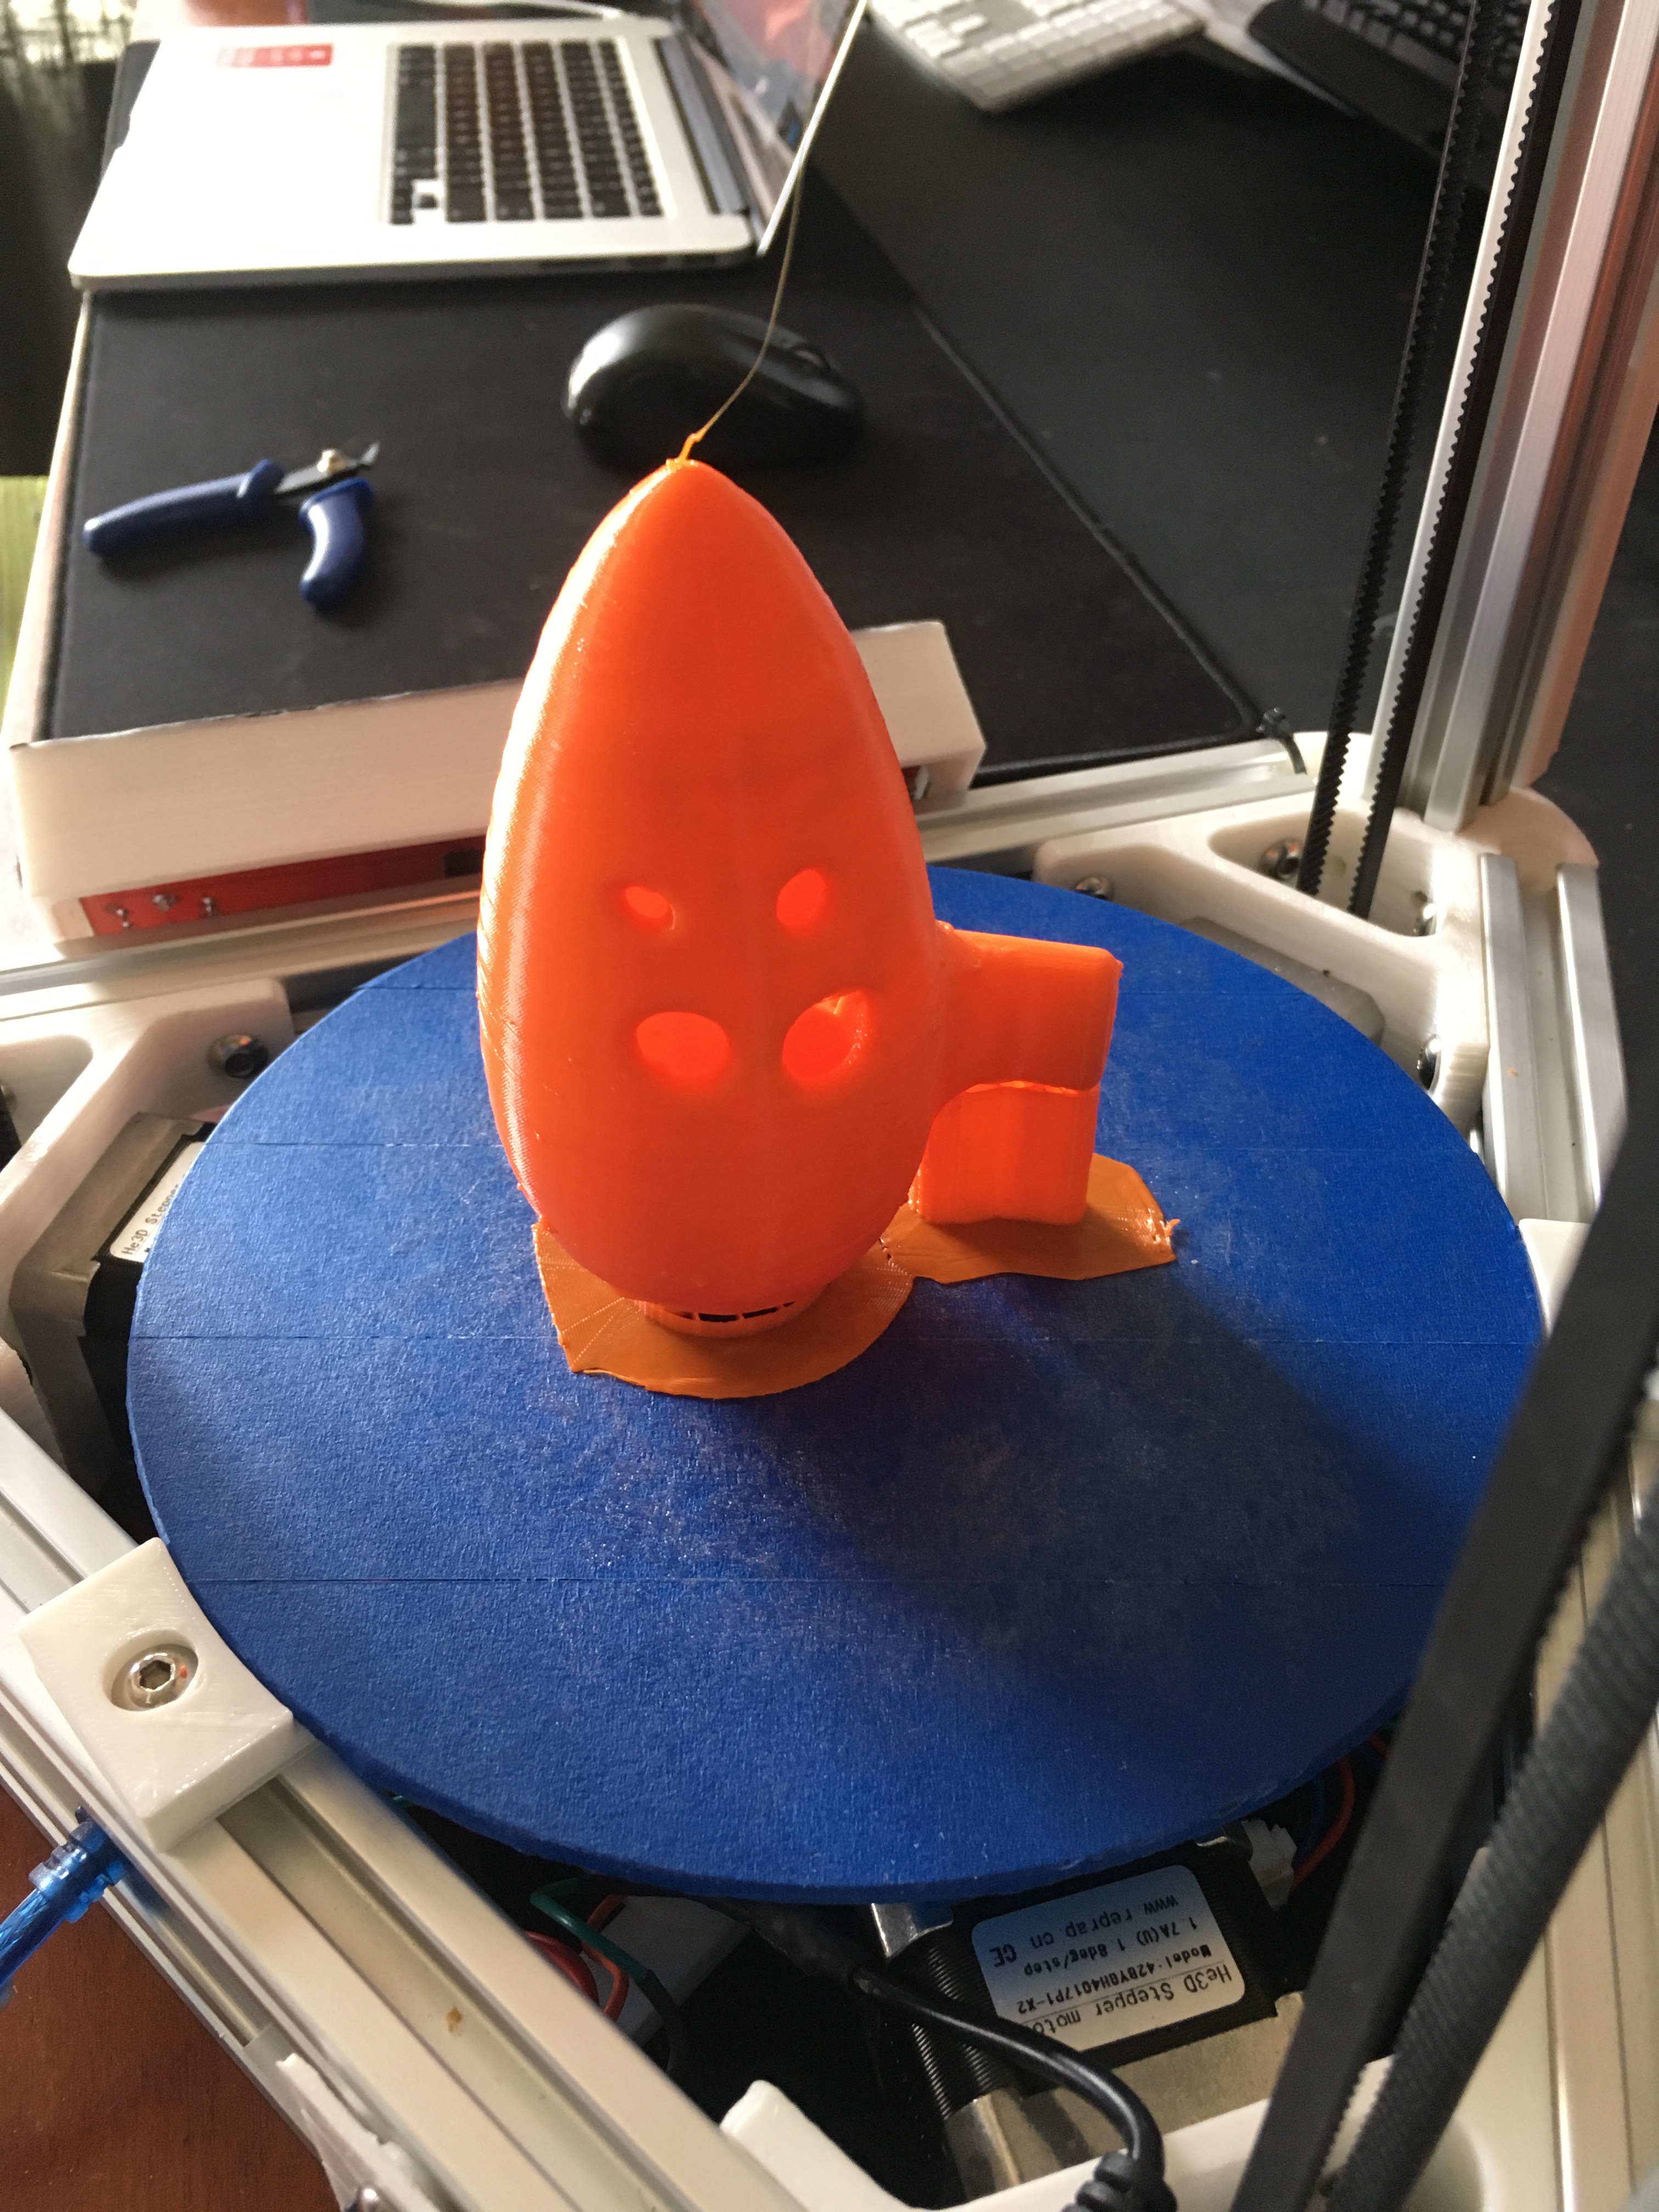
It only took a few weekends to have the whole thing assembled, but the tricky part was dealing with the very sparingly commented (in Chinese) firmware. The printer came with a mostly working version but it needed to be tweaked to calibrate the printer. It was a frustrating and time consuming process but necessary and quite satisfying when finished. The pictures below shows a test box before and after calibration.

Overall, I’m quite happy with it. The performance is pretty solid for the most part (all 3D printers jam and require care). Customer support was also surprisingly responsive and helpful. Construction was a bit frustrating at points, but that’s part of the experience. If it’s something you’ve been considering, I’d recommend this as a starting point.

Tips
Should you consider building printer like this one, I thought I would share some tips and issues I ran into.
Extra Materials
The kit was pretty complete but, with the lack of explicit instructions, I found myself either not having enough of certain size screws. I also found myself needing more heat shrink tubing as I had to rewire a few times; especially after breaking the very tiny thermistor. Oh yeah, I had to order a few more of those as well.
Calibration
Calibration is very time consuming and repetitive. Be patient with it and it’ll work out…eventually. A couple of things I ran into were bed leveling, hot end alignment and extruder stepper rate.
The standard bed is a bit difficult to level and I’ve been looking into printing something like these to help since this is a crucial element to producing accurate prints. For this reason, looking back, I would have purchased the heated bed kit. This has a better means of leveling with screws and springs attaching the bed to the frame.
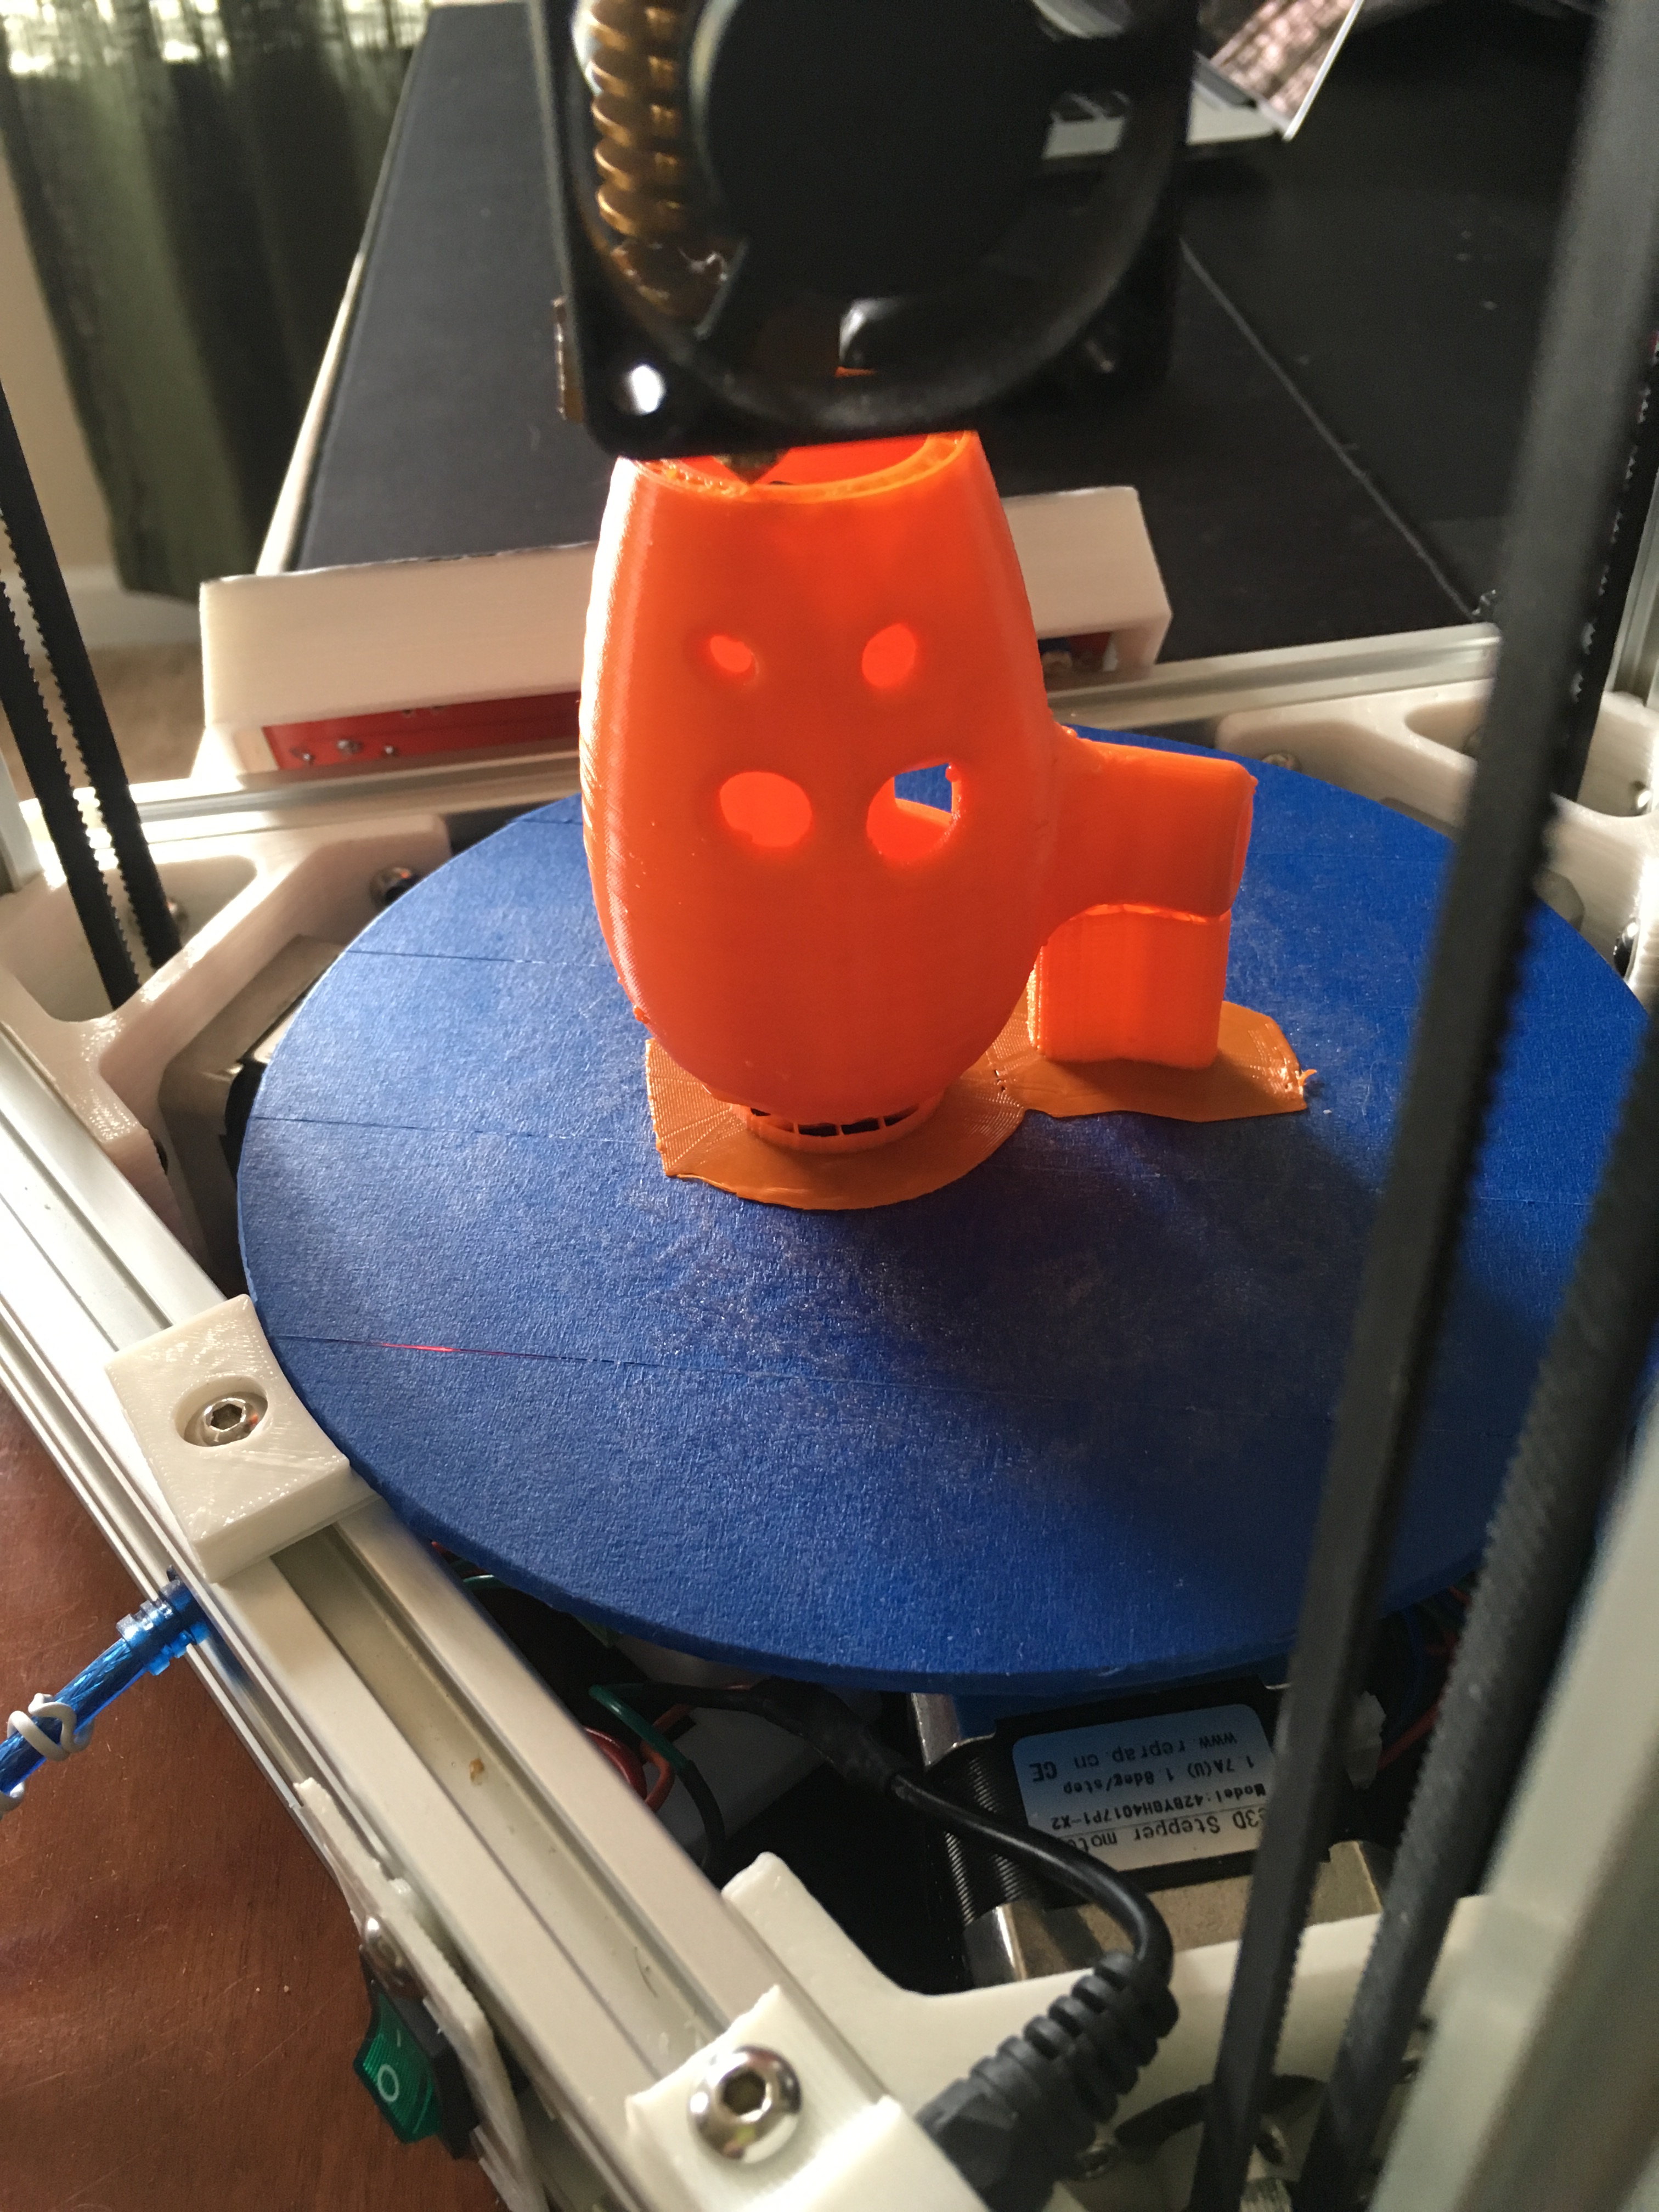
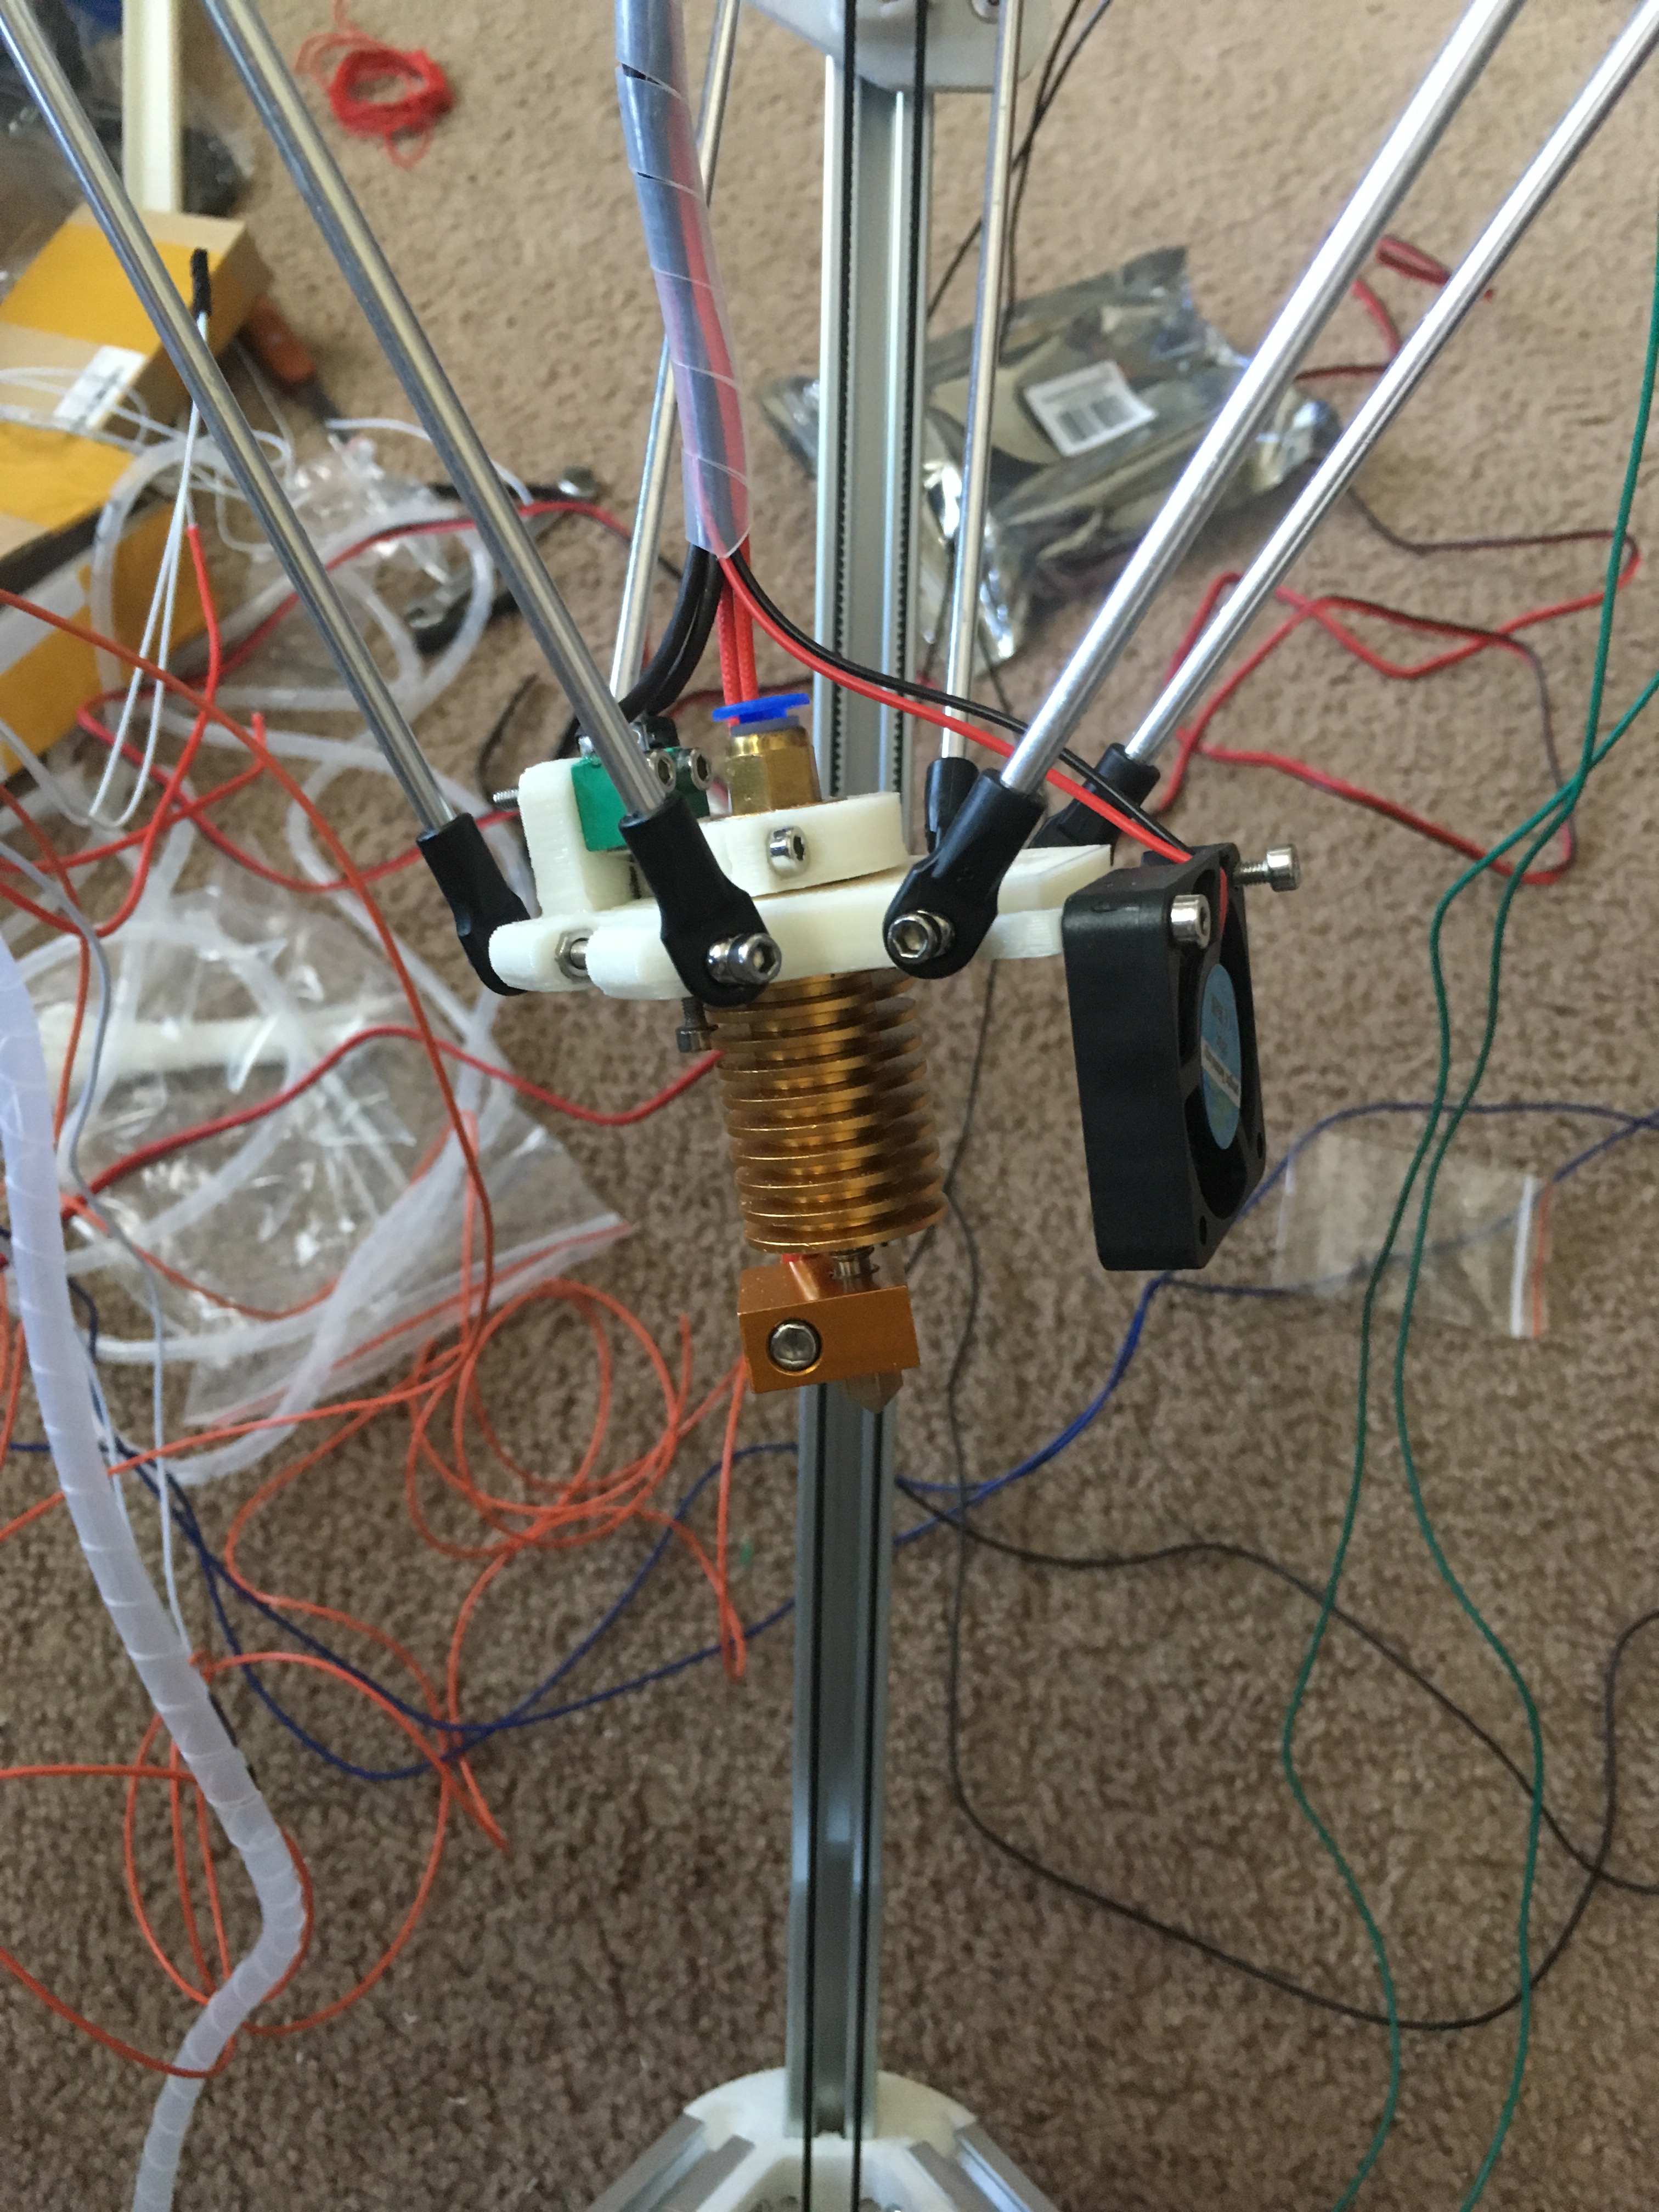
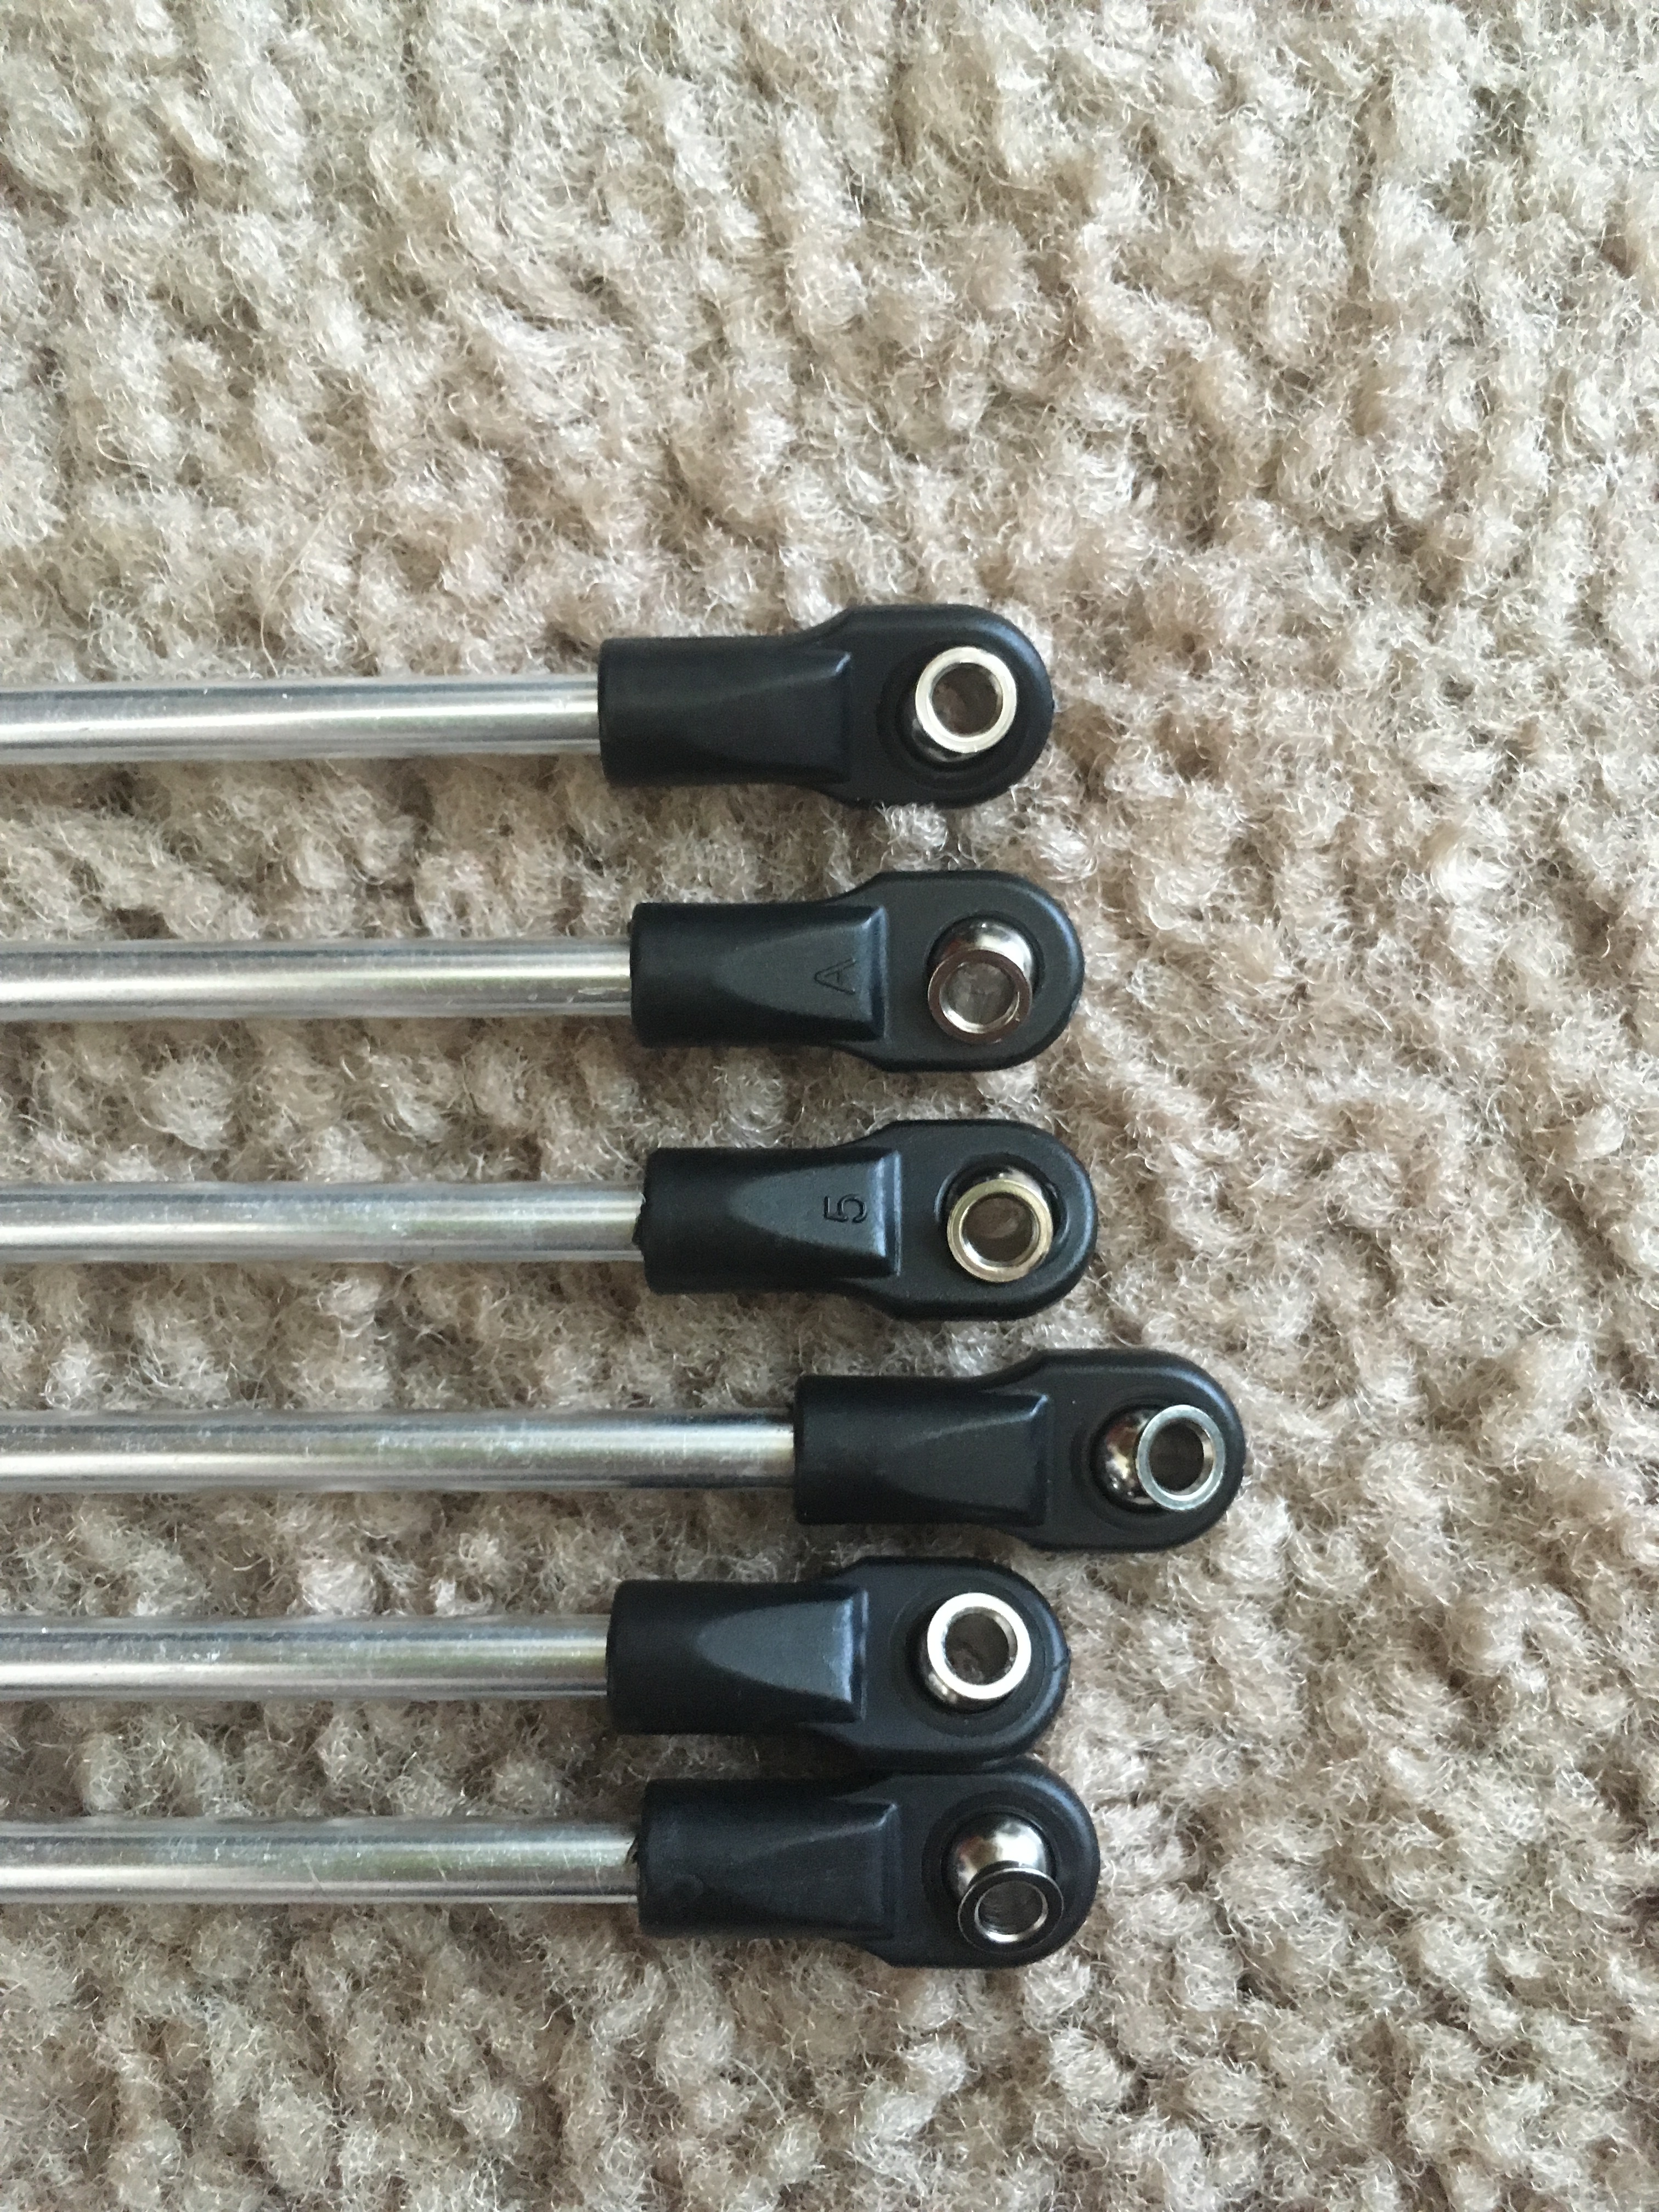
The hot end alignment issue I ran into was caused by the connecting rods not being the same length. This is what they looked like before and the resulting hot end alignment:
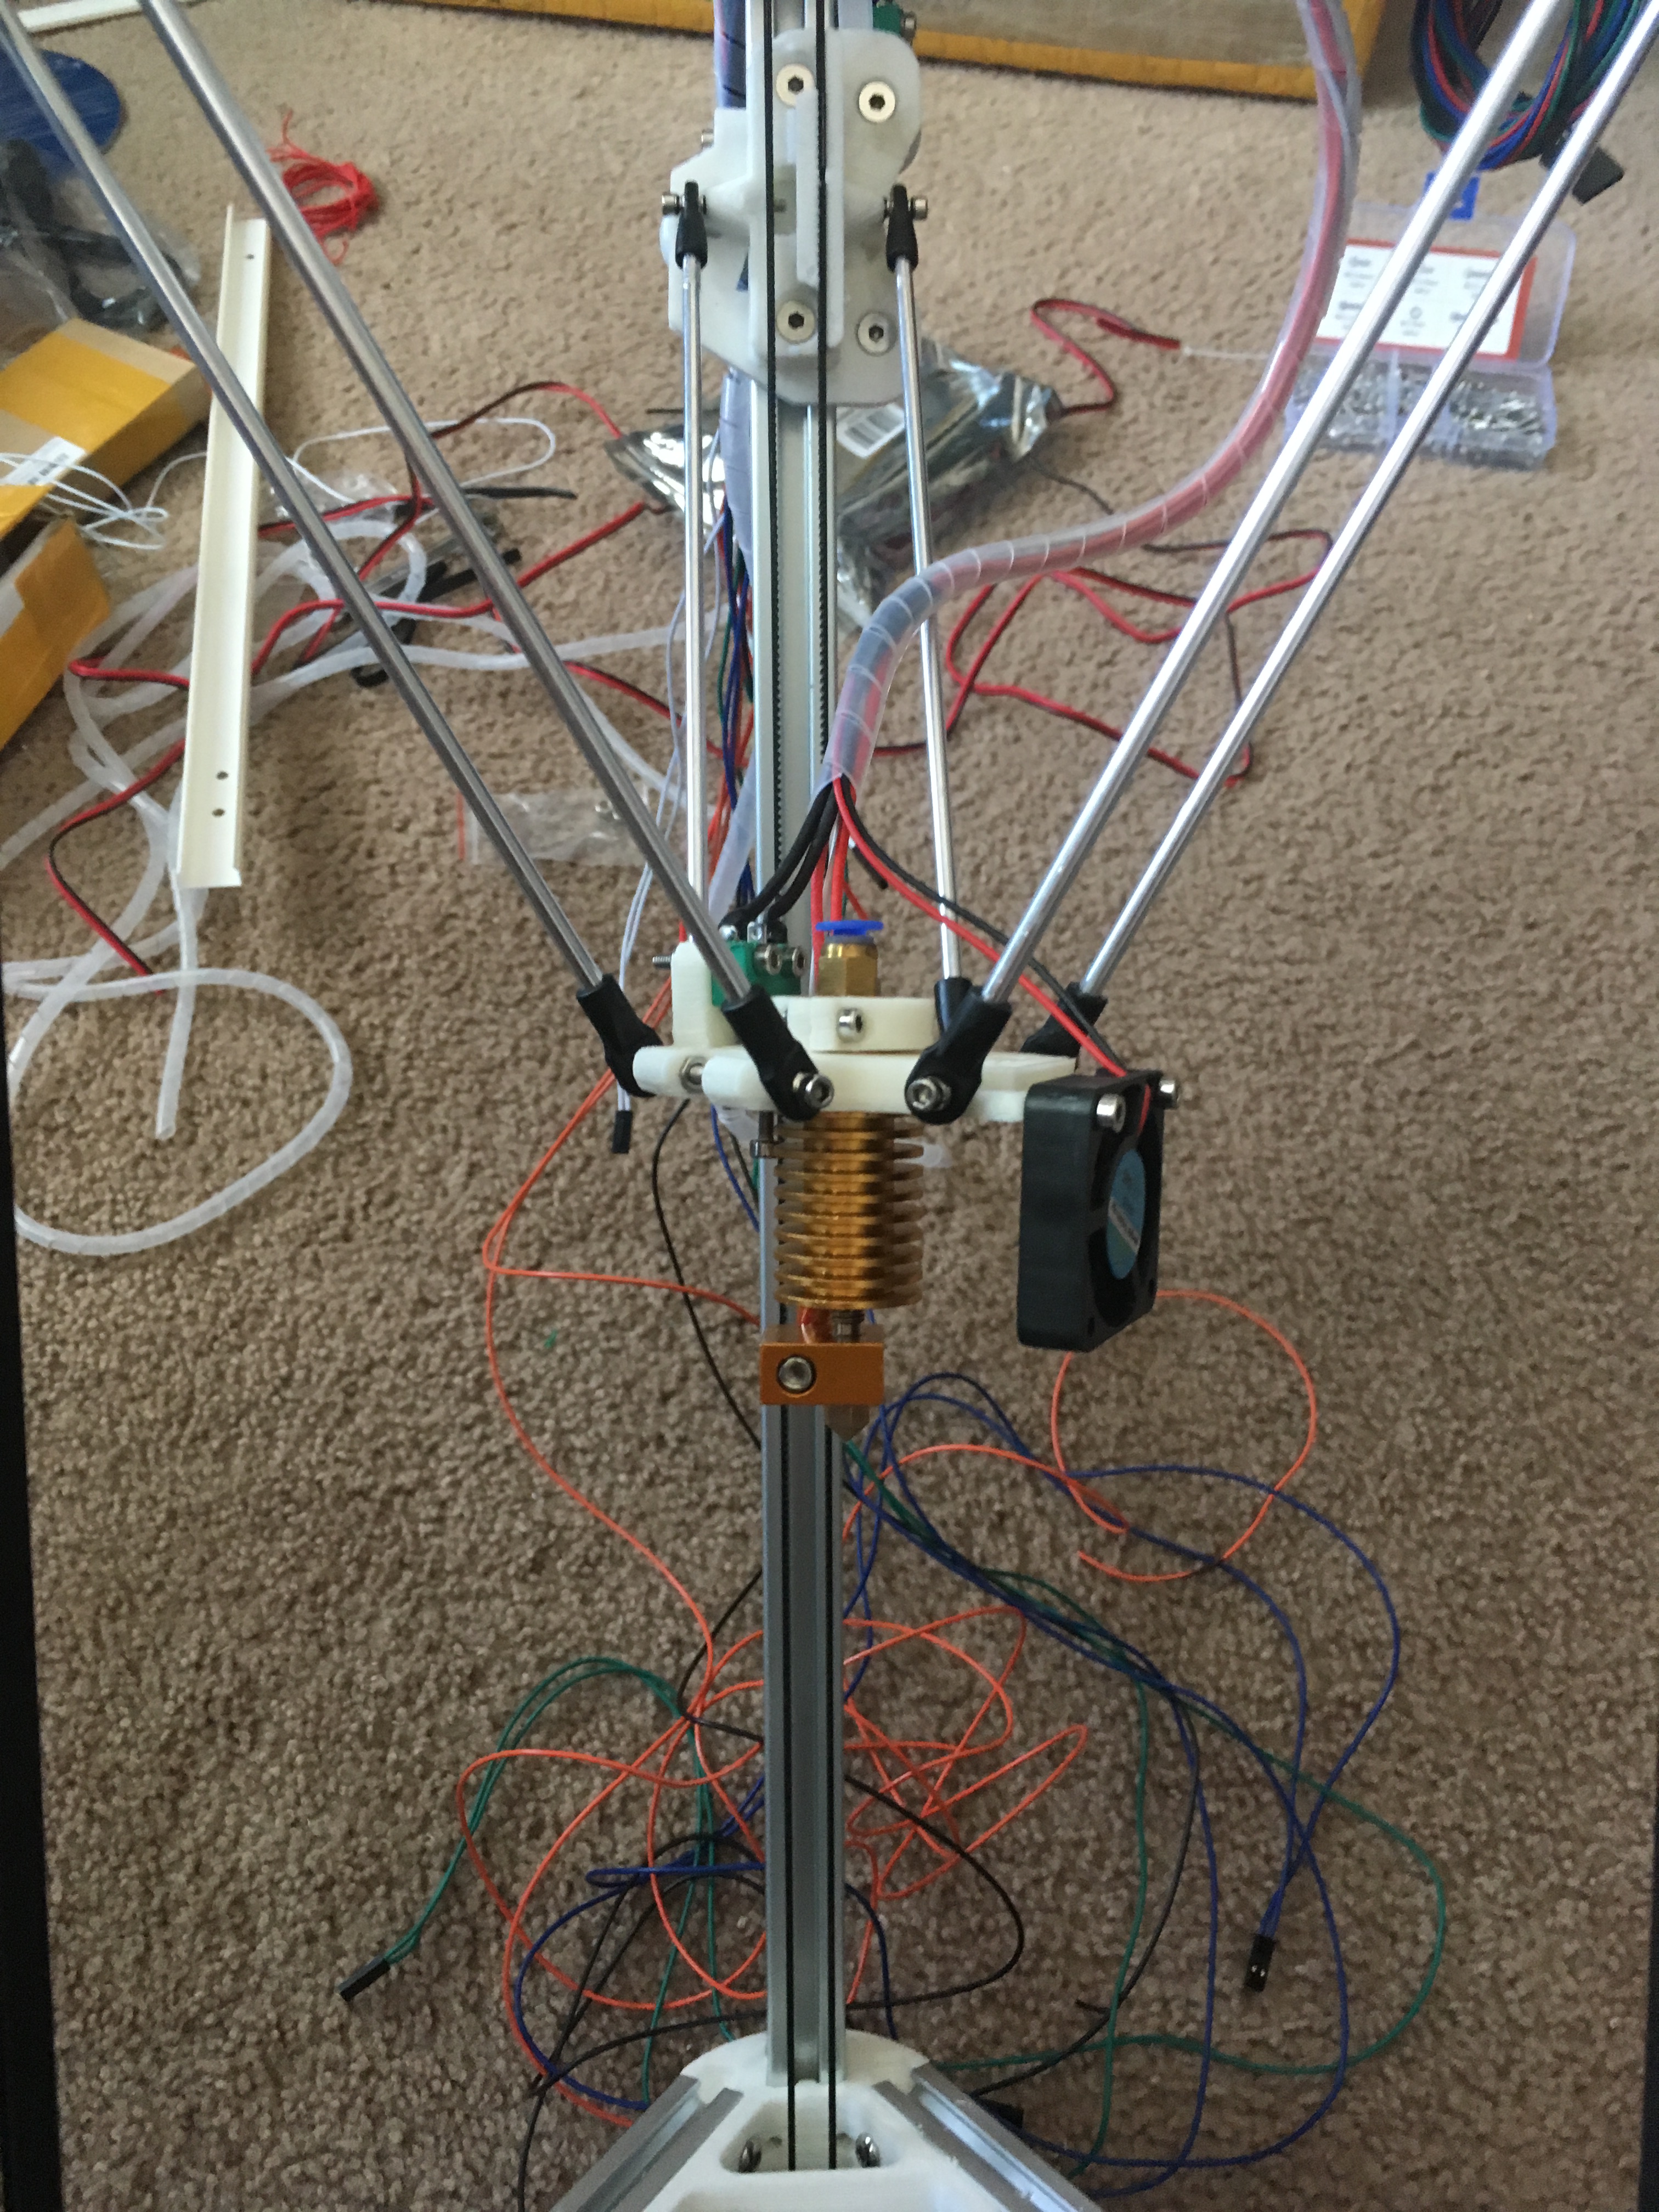
Once I was able to make sure they were the same length, you could immediately see the difference:
Finally, I had a lot of frustration with the extruder stepper motor not extruding the expected length of material. This was because, for some reason, I was afraid to turn the rate very low. Don’t worry about this, as long as the extruded material length is what you expect, it’s alright for the rate to be much lower than forums may lead you to believe.